I was reading on an aquaponics forum about a guy that wanted to build a simple aquaponics system for less than $150.
As the day went on the question bugged me, because for a very small and limited system I spent about $250 learning how the basics of aquaponics works. I messed up everything, killed the plants, killed most of the fish, and had a few tomatoes that cost me about $35 each. I’ve learned quite a bit since then. As the day went on I thought about what it would take to get all of my family and friends with at least a basic system they could setup themselves, for cheap – yet still produce over 100 lbs of vegetables a year.
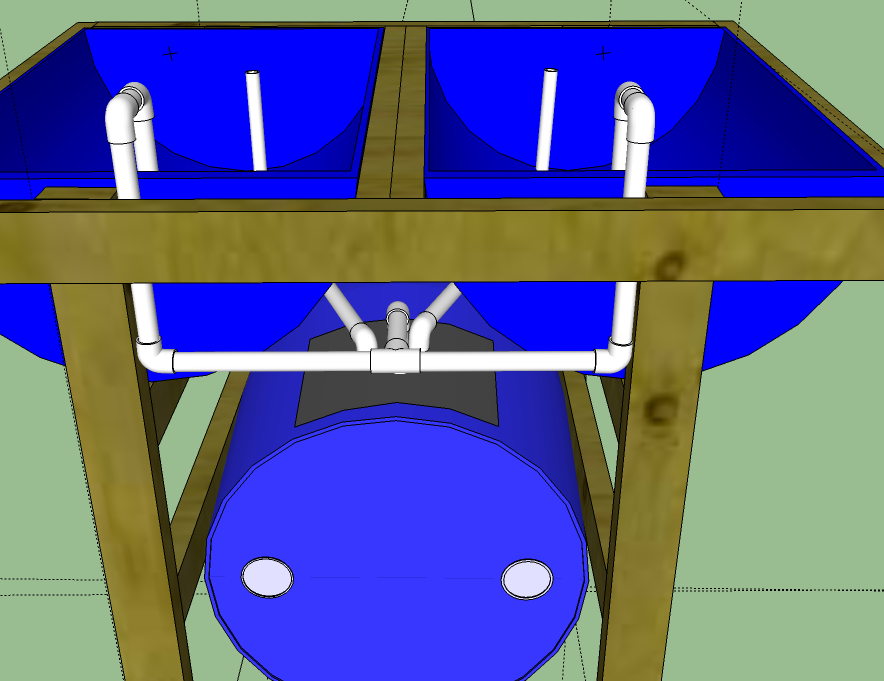
My thoughts are, if someone learns the basics, and then can see for themselves how easy and rewarding it is to grow several of their own plants, maybe we’ll have more aquaponics people, and more people who think about self sustainability. Here is one of the 3 systems that I came up with:
Features#
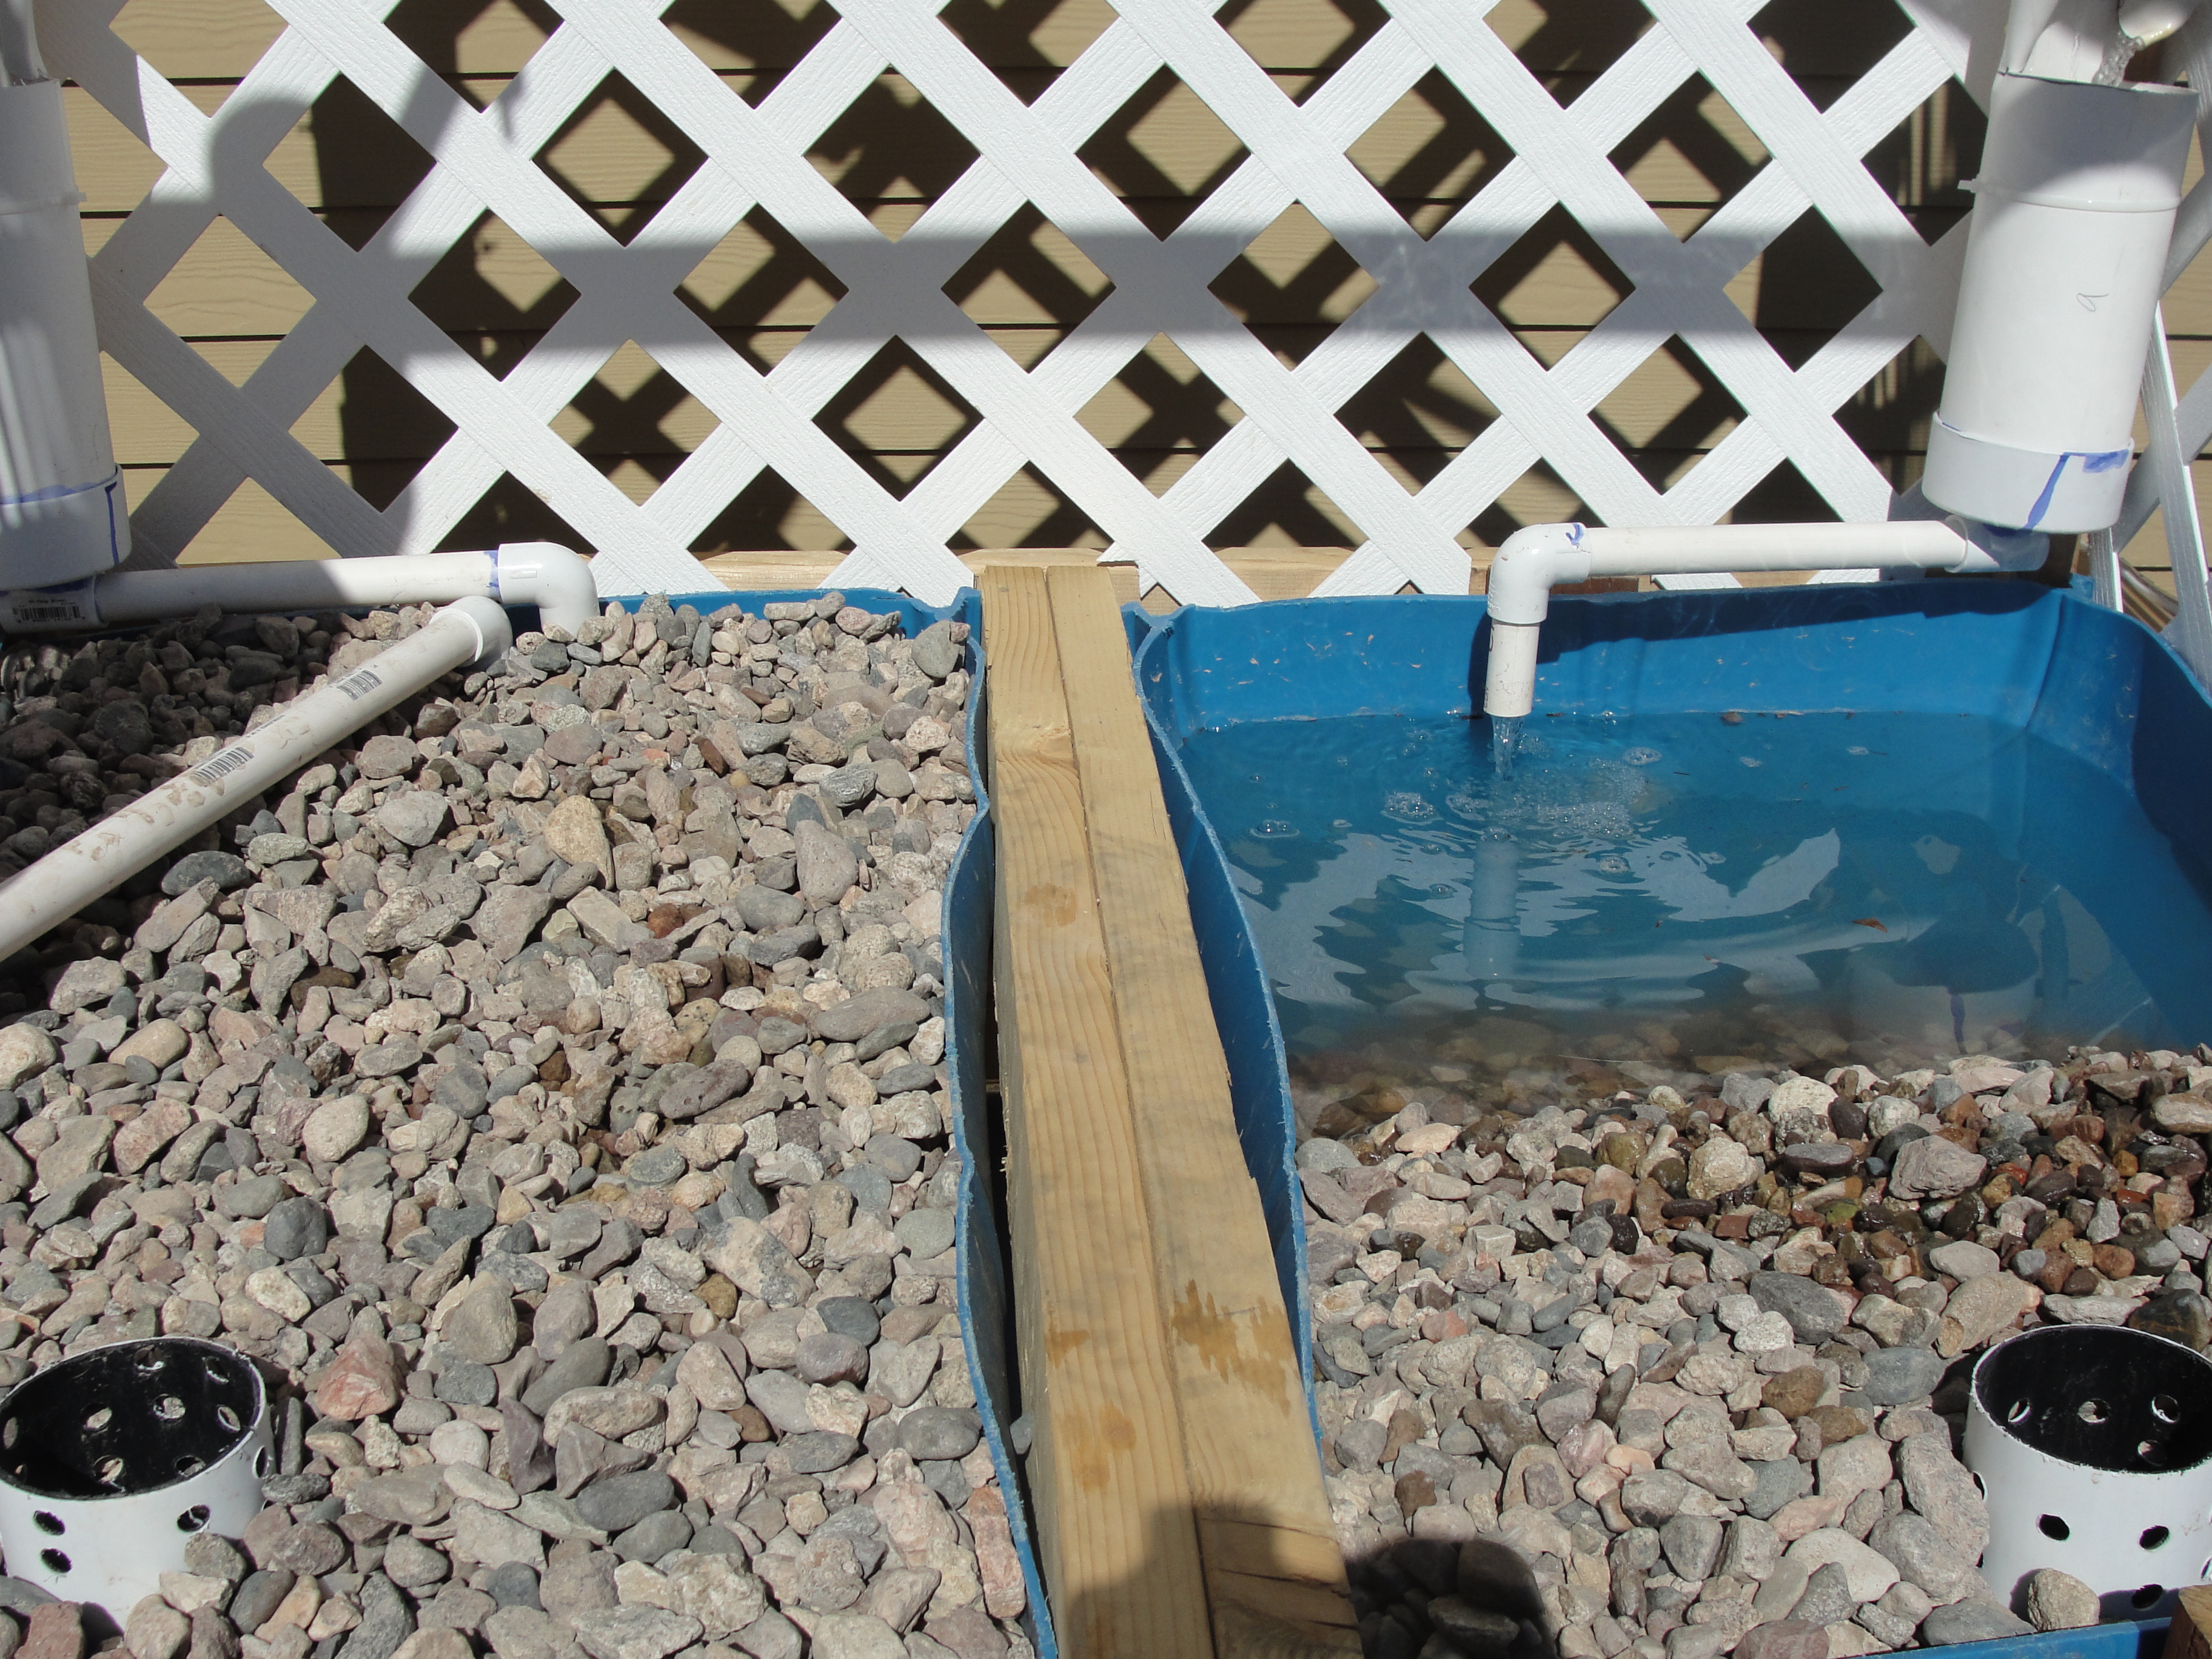
55 Gallons With only 55 gallons, you might be able to run (at max) 7 to 10 tilapia; however 2 to 3 would be a safer number. Direct sunlight on the tank will cause drastic heat swings and this will kill fish. There is no supplemental heat so if temperature goes below 55F I would lose all of the tilapia. Bluegill might be a better choice for my area as they have a wider tolerance range. pH changes will be more dramatic and fast than a 300+ gallon system, but definately manageable. You will need to refill evaporated and transpired water regularly. It’s not realistic to harvest so small number of fish because removing fish to eat would drastically change the plant fertilizer. I think goldfish would be a better solution for this small of a system. Grow bed capacity You have 2 grow beds that are deep enough to get a decent bacteria colony growing, and thus provide nutrients and bio filtration for your tank. 55 gallons will allow for a decent amount of grow beds, enough to make this worthwhile. 2 to 4 half cut shelves + several grow towers is easily doable from only 55 gallons. I estimate that if you fit 5 – 10 large plants in each cut barrel and put up 3 grow towers (4 pots each), you could grow a mixture of deep root and shallow root plants and have about 30-40 plants in this system. I don’t think size would allow you to add more, but that would depend on the types of plants you actually choose. There is a link to the aquaponics system with towers at the end of this article. Simplicity There are no valves, no solids filters, and only 1 pump listed. Everything is constant flow to reduce stress on your fish, and to eliminate the extra cost of making autosiphons. Without autosiphons, this limits the types of plants that can be grown, but only a little bit. The goal is a simple, foolproof, inexpensive system good for beginners that would require only the minimal maintenance (monthly pump cleaning). Continuous Flow There are several different methods of cycling water over the grow beds. One is called Continuous Flow (often CF). This method is the best for basic systems. A CF grow bed runs water continuously up to about 2 inches to 4 inches below the surface. This allows for high quantities of dissolved oxygen, and is said to cycle and mature a system faster than ebb and flow or draining with an autosiphon. Continuous flow does not require timers or siphons, the water is kept at the same level constantly, but is always draining too. One advantage of a CF aquaponics system is that the pump maintains the same level of water and a much slower change in temperature. Grow beds heat up in the sun, and if you have cool water on hot grow beds it flushes back hot water. This could stress the fish. The only disadvantage is that not all plants like continous flow (most do great though).
Cost of Materials#
Here is a table of what I would build 55 gallon aquaponics system from:
| $7.50 | $3.52 | 2 | 2×4 @ 10′ Untreated |
| $16.20 | $2.70 | 6 | 2×4 @ 8′ Untreated |
| $40.00 | $20.00 | 2 | Food Grade Barrel |
| $3.90 | $0.39 | 10 | 3/4″ Elbow Sched 40 PVC |
| $0.42 | $0.42 | 1 | 3/4″ Tee Sched 40 PVC |
| $4.36 | $2.36 | 2 | 3/4″ Sched 40 PVC pipe |
| $2.94 | $1.47 | 2 | 3/4″ Sched 40 PVC Threaded + Slip Coupler Male |
| $1.18 | $0.59 | 2 | 3/4″ Sched 40 PVC Threaded + Slip Coupler Female |
| $42.00 | $42.00 | 1 | 150 GPH Pondmaster pump |
| $16.00 | $16.00 | 1 | 1/2″ to 1″ River Rock (must be safe/ph nuetral) |
| $4.00 | $4.00 | 1 | 1 Tube Silicone |
| $29.98 | $29.98 | 1 | Half a box of Deck Mate Self tapping wood screws (2″) |
| $6.98 | $6.98 | 1 | A small amount of PVC glue + primer |
| $16.67 | Govt Meddling Fee (Tax estimate) | ||
| $192.14 | Total Parts |
This does not account for a backup pump and you should really have one!
Tower Version Parts Cost#
| $7.04 | $3.52 | 2 | 2×4 @ 10′ Untreated |
| $16.20 | $2.70 | 6 | 2×4 @ 8′ Untreated |
| $40.00 | $20.00 | 2 | Food Grade Barrel |
| $6.24 | $0.39 | 16 | 3/4″ Elbow Sched 40 PVC |
| $0.84 | $0.42 | 2 | 3/4″ Tee Sched 40 PVC |
| $12.70 | $2.36 | 5 | 3/4″ Sched 40 PVC pipe |
| $8.82 | $1.47 | 6 | 3/4″ Sched 40 PVC Threaded + Slip Coupler Male |
| $3.54 | $0.59 | 6 | 3/4″ Sched 40 PVC Threaded + Slip Coupler Female |
| $139.00 | $139.00 | 1 | 150 GPH Pondmaster pump (online cheaper) |
| $16.00 | $16.00 | 1 | 1/2″ to 1″ River Rock (must be safe/ph nuetral) |
| $15.00 | $15.00 | 1 | 1/2″ Plywood |
| $30.00 | $15.00 | 2 | Plastic Trellis |
| $10.50 | $1.50 | 7 | 2″x2″ for the tower framework |
| $9.00 | $4.50 | 2 | 3/4″ PVC Slip valve |
| $8.00 | $8.00 | 1 | 4″ PVC pipe |
| $4.50 | $1.50 | 3 | 4″ end caps |
| $4.00 | $4.00 | 1 | 1 Tube Silicone |
| $2.50 | $2.50 | 1 | Package of 2 small hinges for the door |
| $3.50 | $1.75 | 2 | Slide latch for door top and bottom |
| $29.98 | $29.98 | 1 | Half a box of Deck Mate Self tapping wood screws (2″) |
| $6.98 | $6.98 | 1 | A small amount of PVC glue + primer |
| $35.49 | Govt Meddling Fee (Tax) | ||
| $410.30 | Total Parts |
This does not account for a backup pump and you should really have one!
Google Sketchup#
This aquaponics system model was created in google sketchup, a free modeling software. Here is an animation showing you the details of the aquaponics system build.
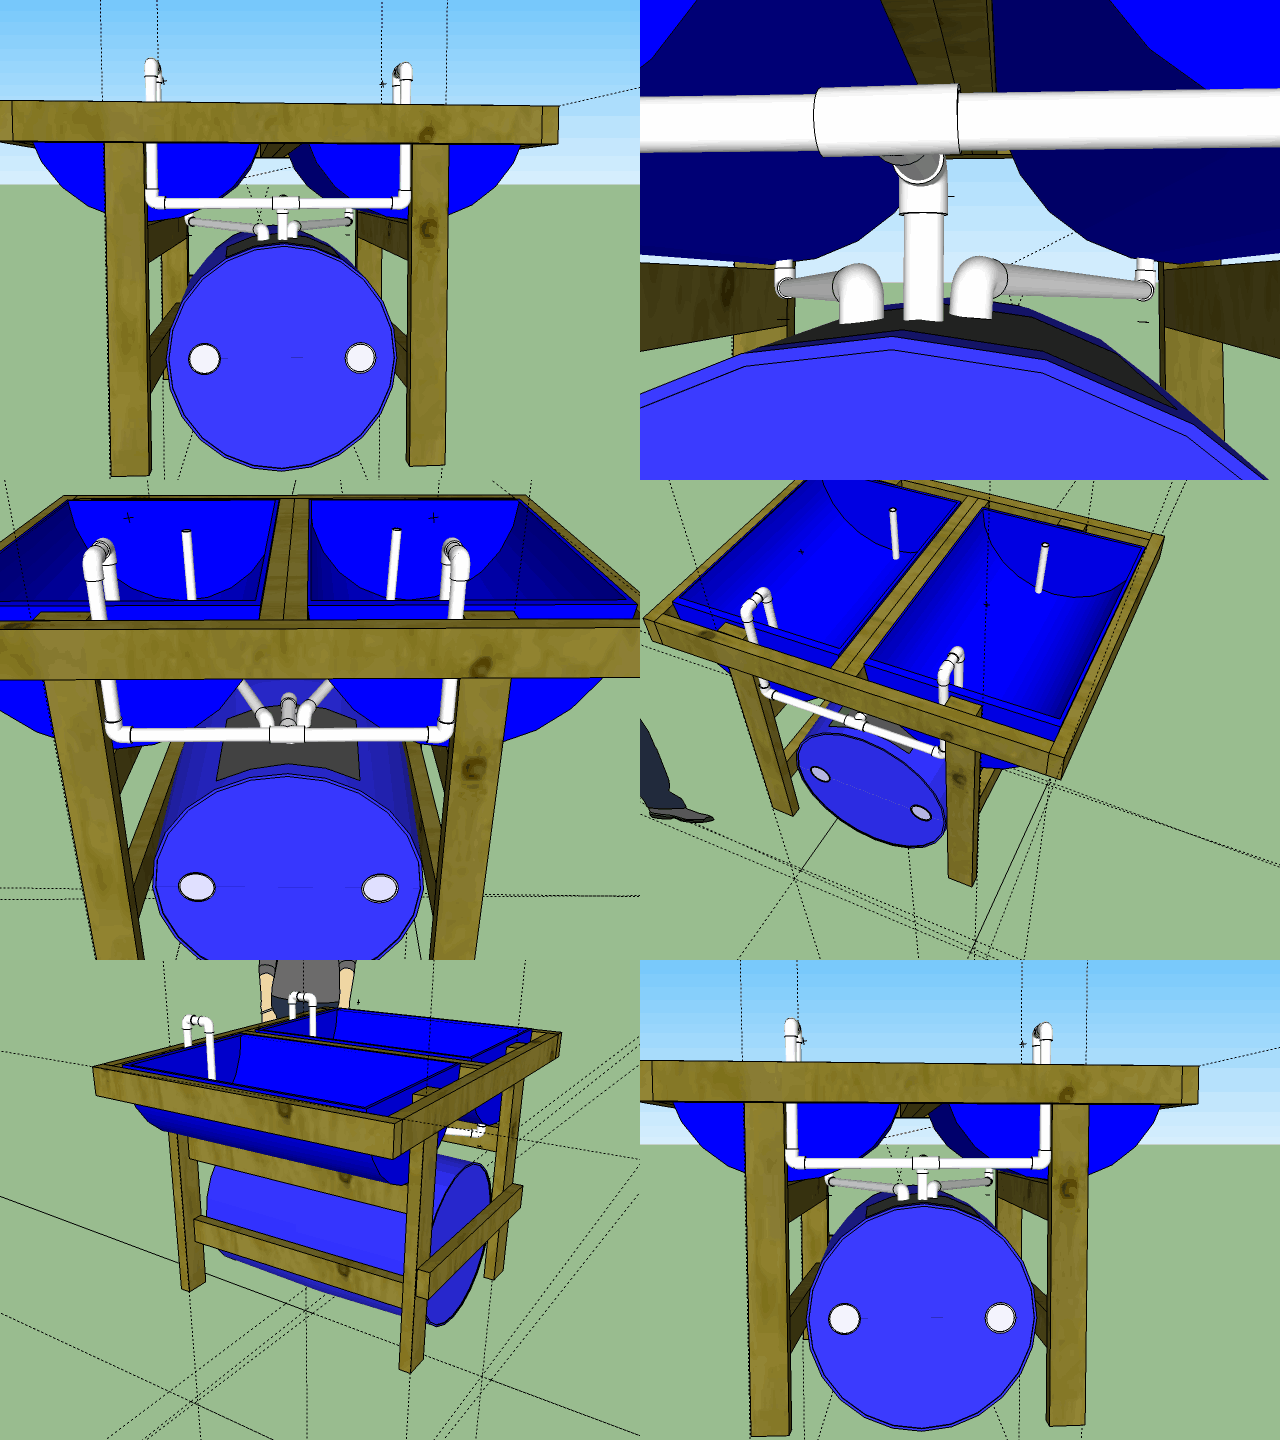
Certain things have been left out such as the exact dimensions, as they aren’t terribly important. However, it is important that the drain pipes drain the water and leave about 2 inches of dry media on the top. This is done by cutting the drain pipe 2″ below the surface. My diagram does not have it, but another large pipe with slits in it, surrounding the drain pipe would be a good idea to keep worms, and rocks out of your fish bed.
Also, you would want to use a cheese cloth/paint strainer type back or some other filter for the pump intake. I like to bury the pump in a small basket filled with gravel. This keeps fish out, but allows some solids to be sucked up.
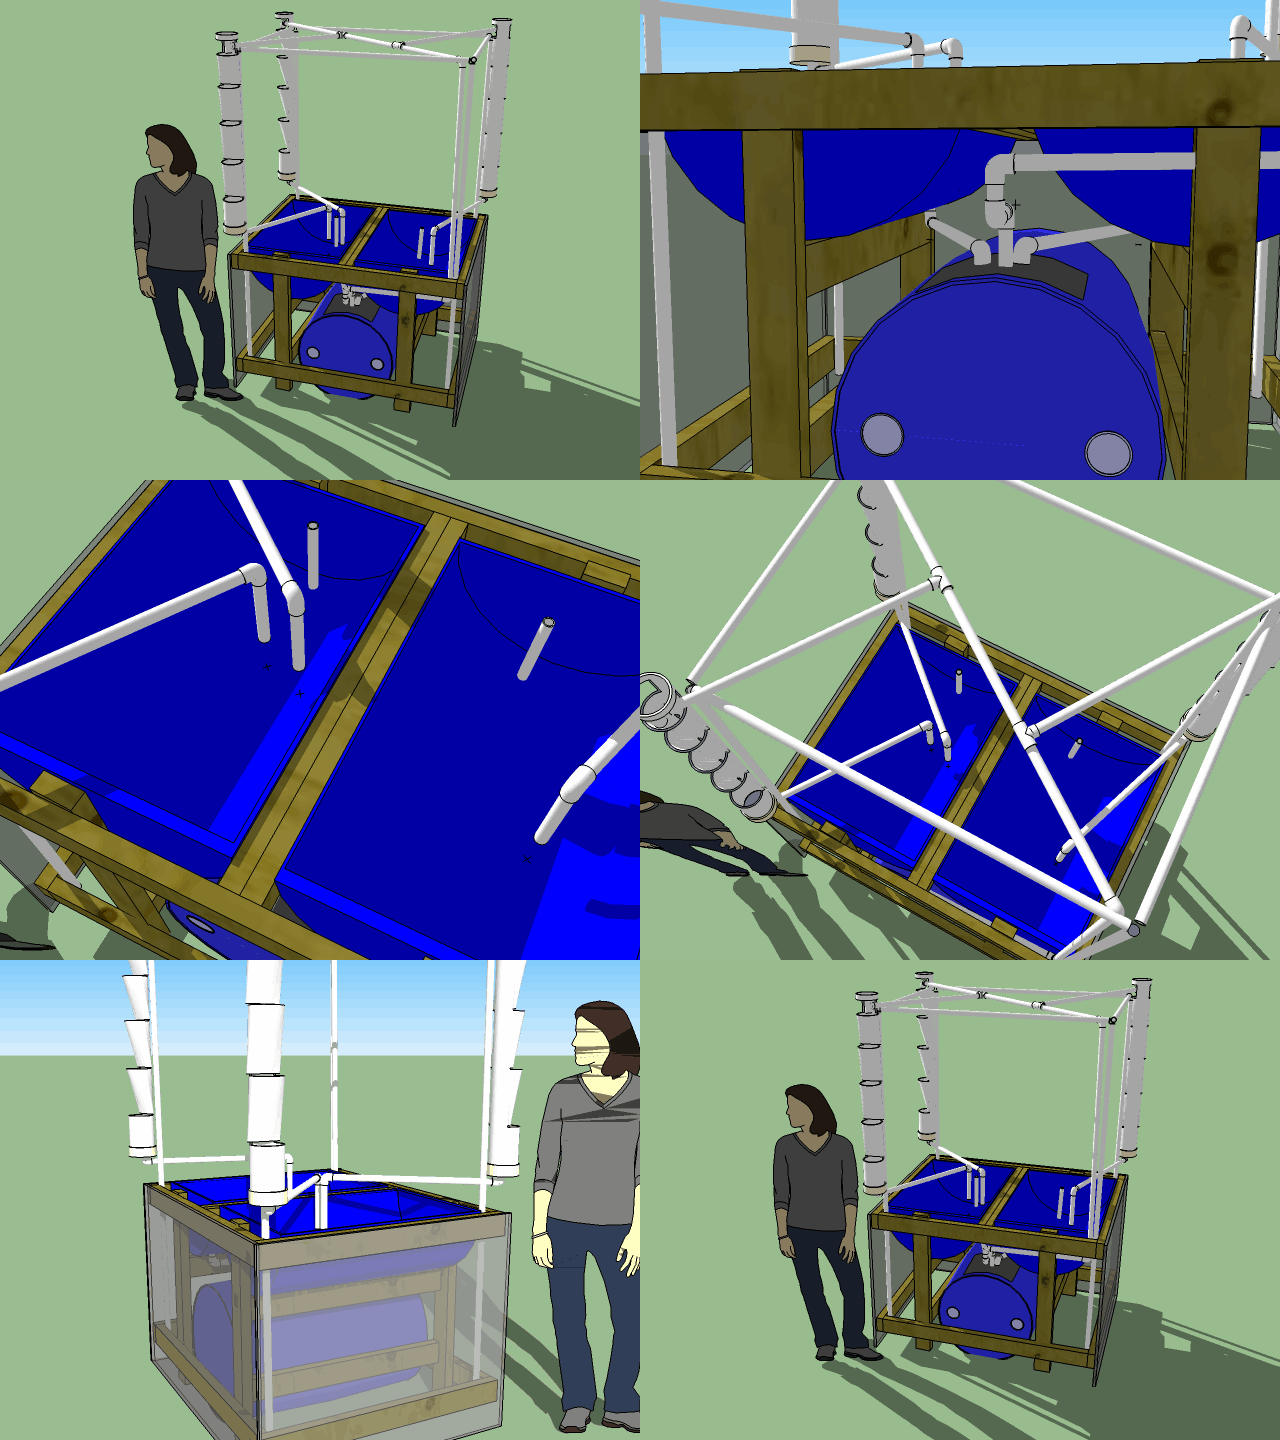
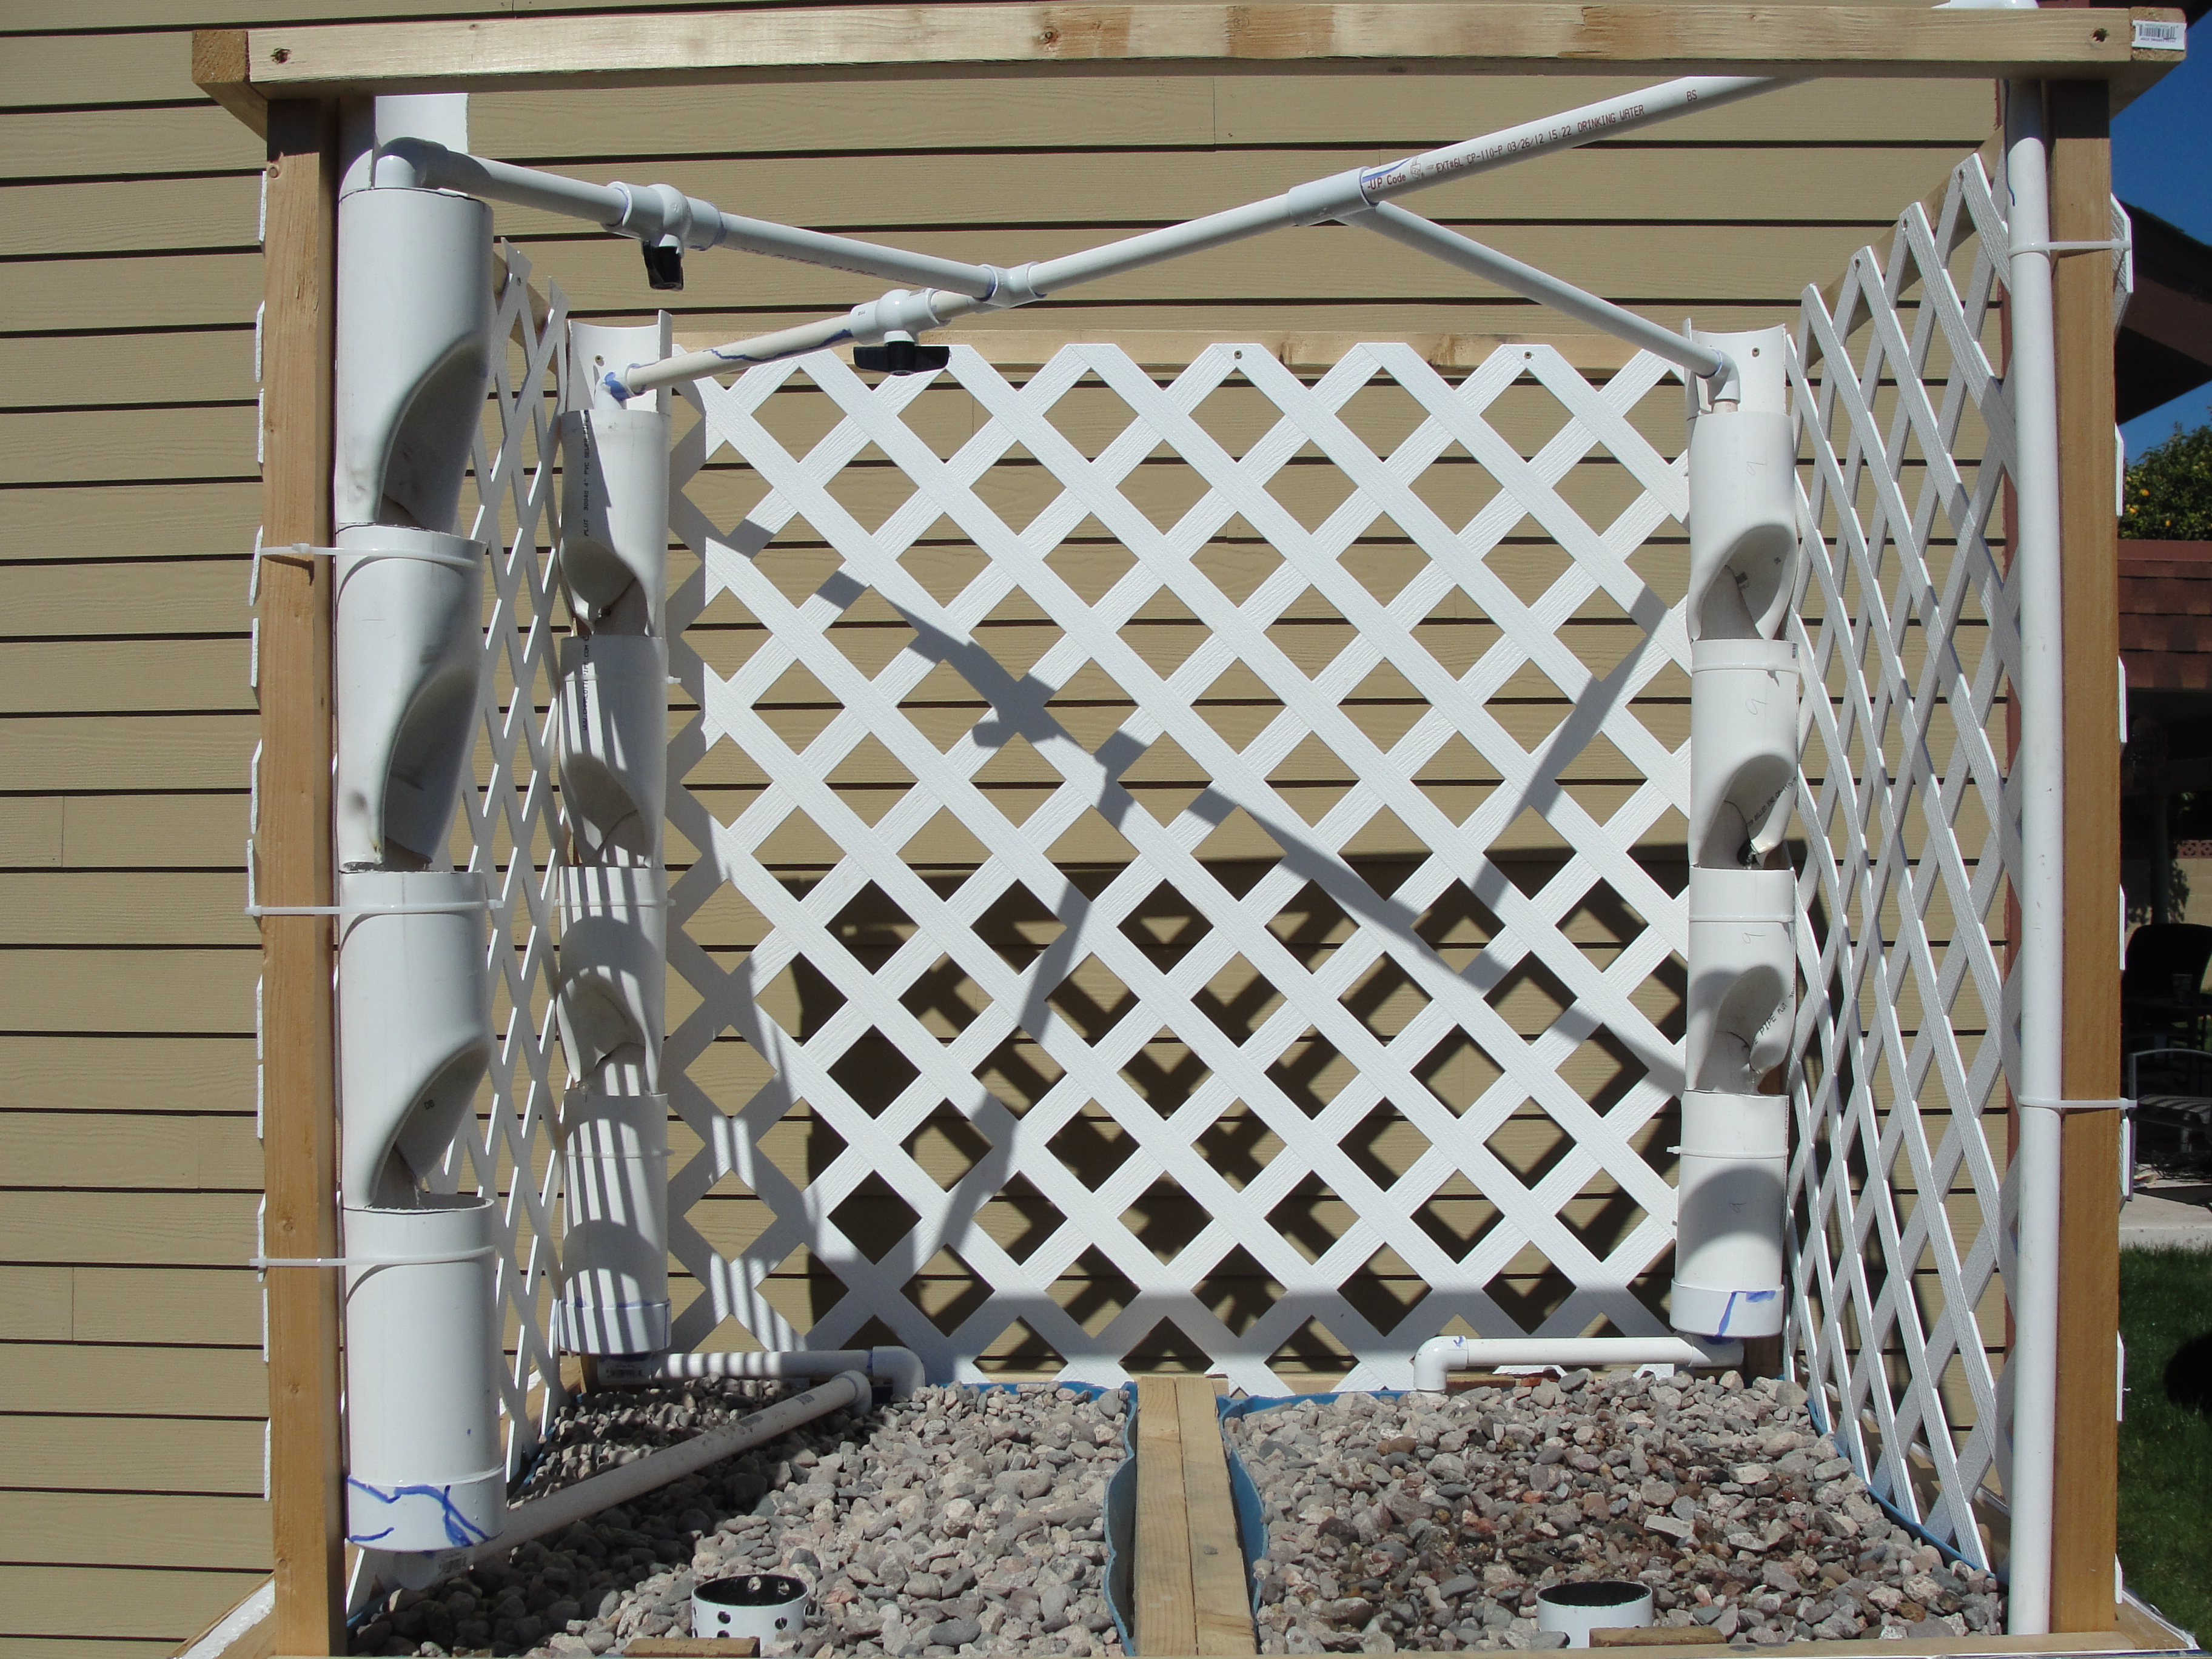
Tower Version of the 55 Gallon Aquaponics System#
Summary#
Here are two designs that will work for beginners wanting to try out aquaponics without breaking the bank. Both systems can grow at least 30 plants, but possibly more. Everything is simple and maintenance free (clean pumps once a month, monitor water levels, fish activity, and pests). I think I’ll build the tower version as an isolation tank or for a few bluegill. It will fit on my back porch, next to the planned banana trees.
Exact Diagrams and measurements for 55 Gallon Aquaponics System#
If there is interest, I can provide a PDF with detailed cutting instructions, pump filter construction, parts list suppliers, cycling basics, and suggested plants. Please leave a comment if you would like me to make this?
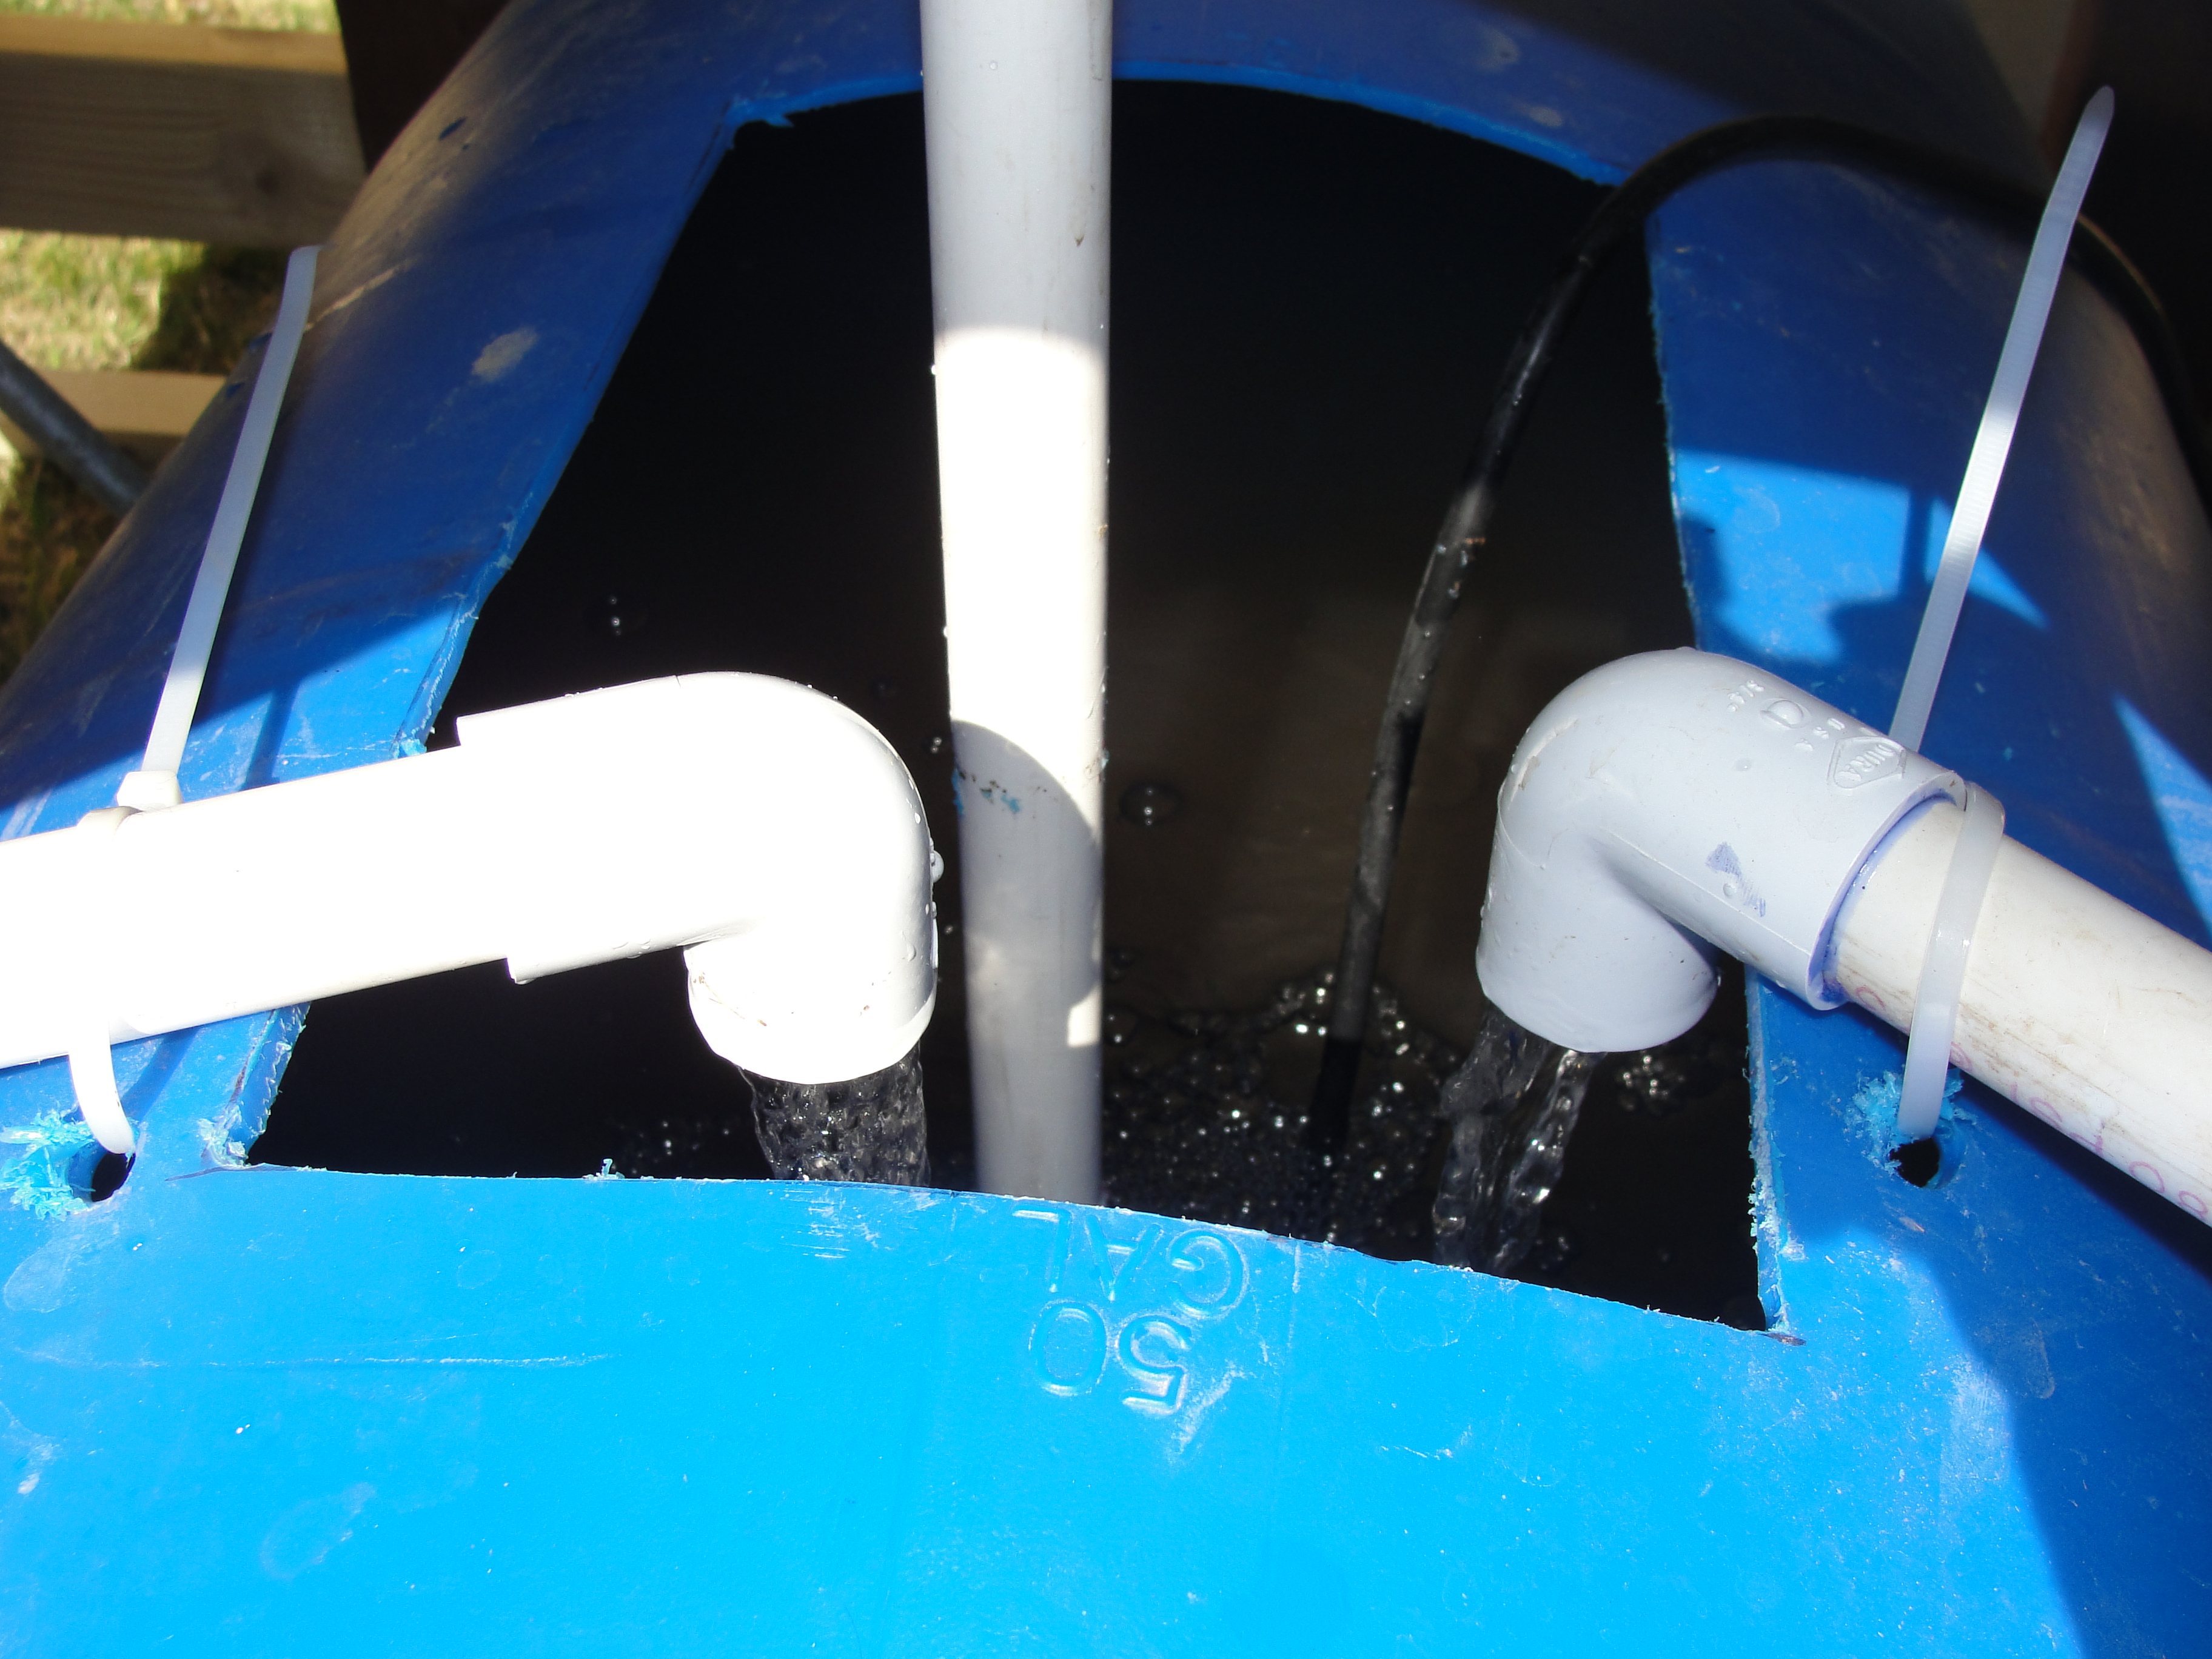
Images of First Prototype of 55 Gallon Aquaponics System#
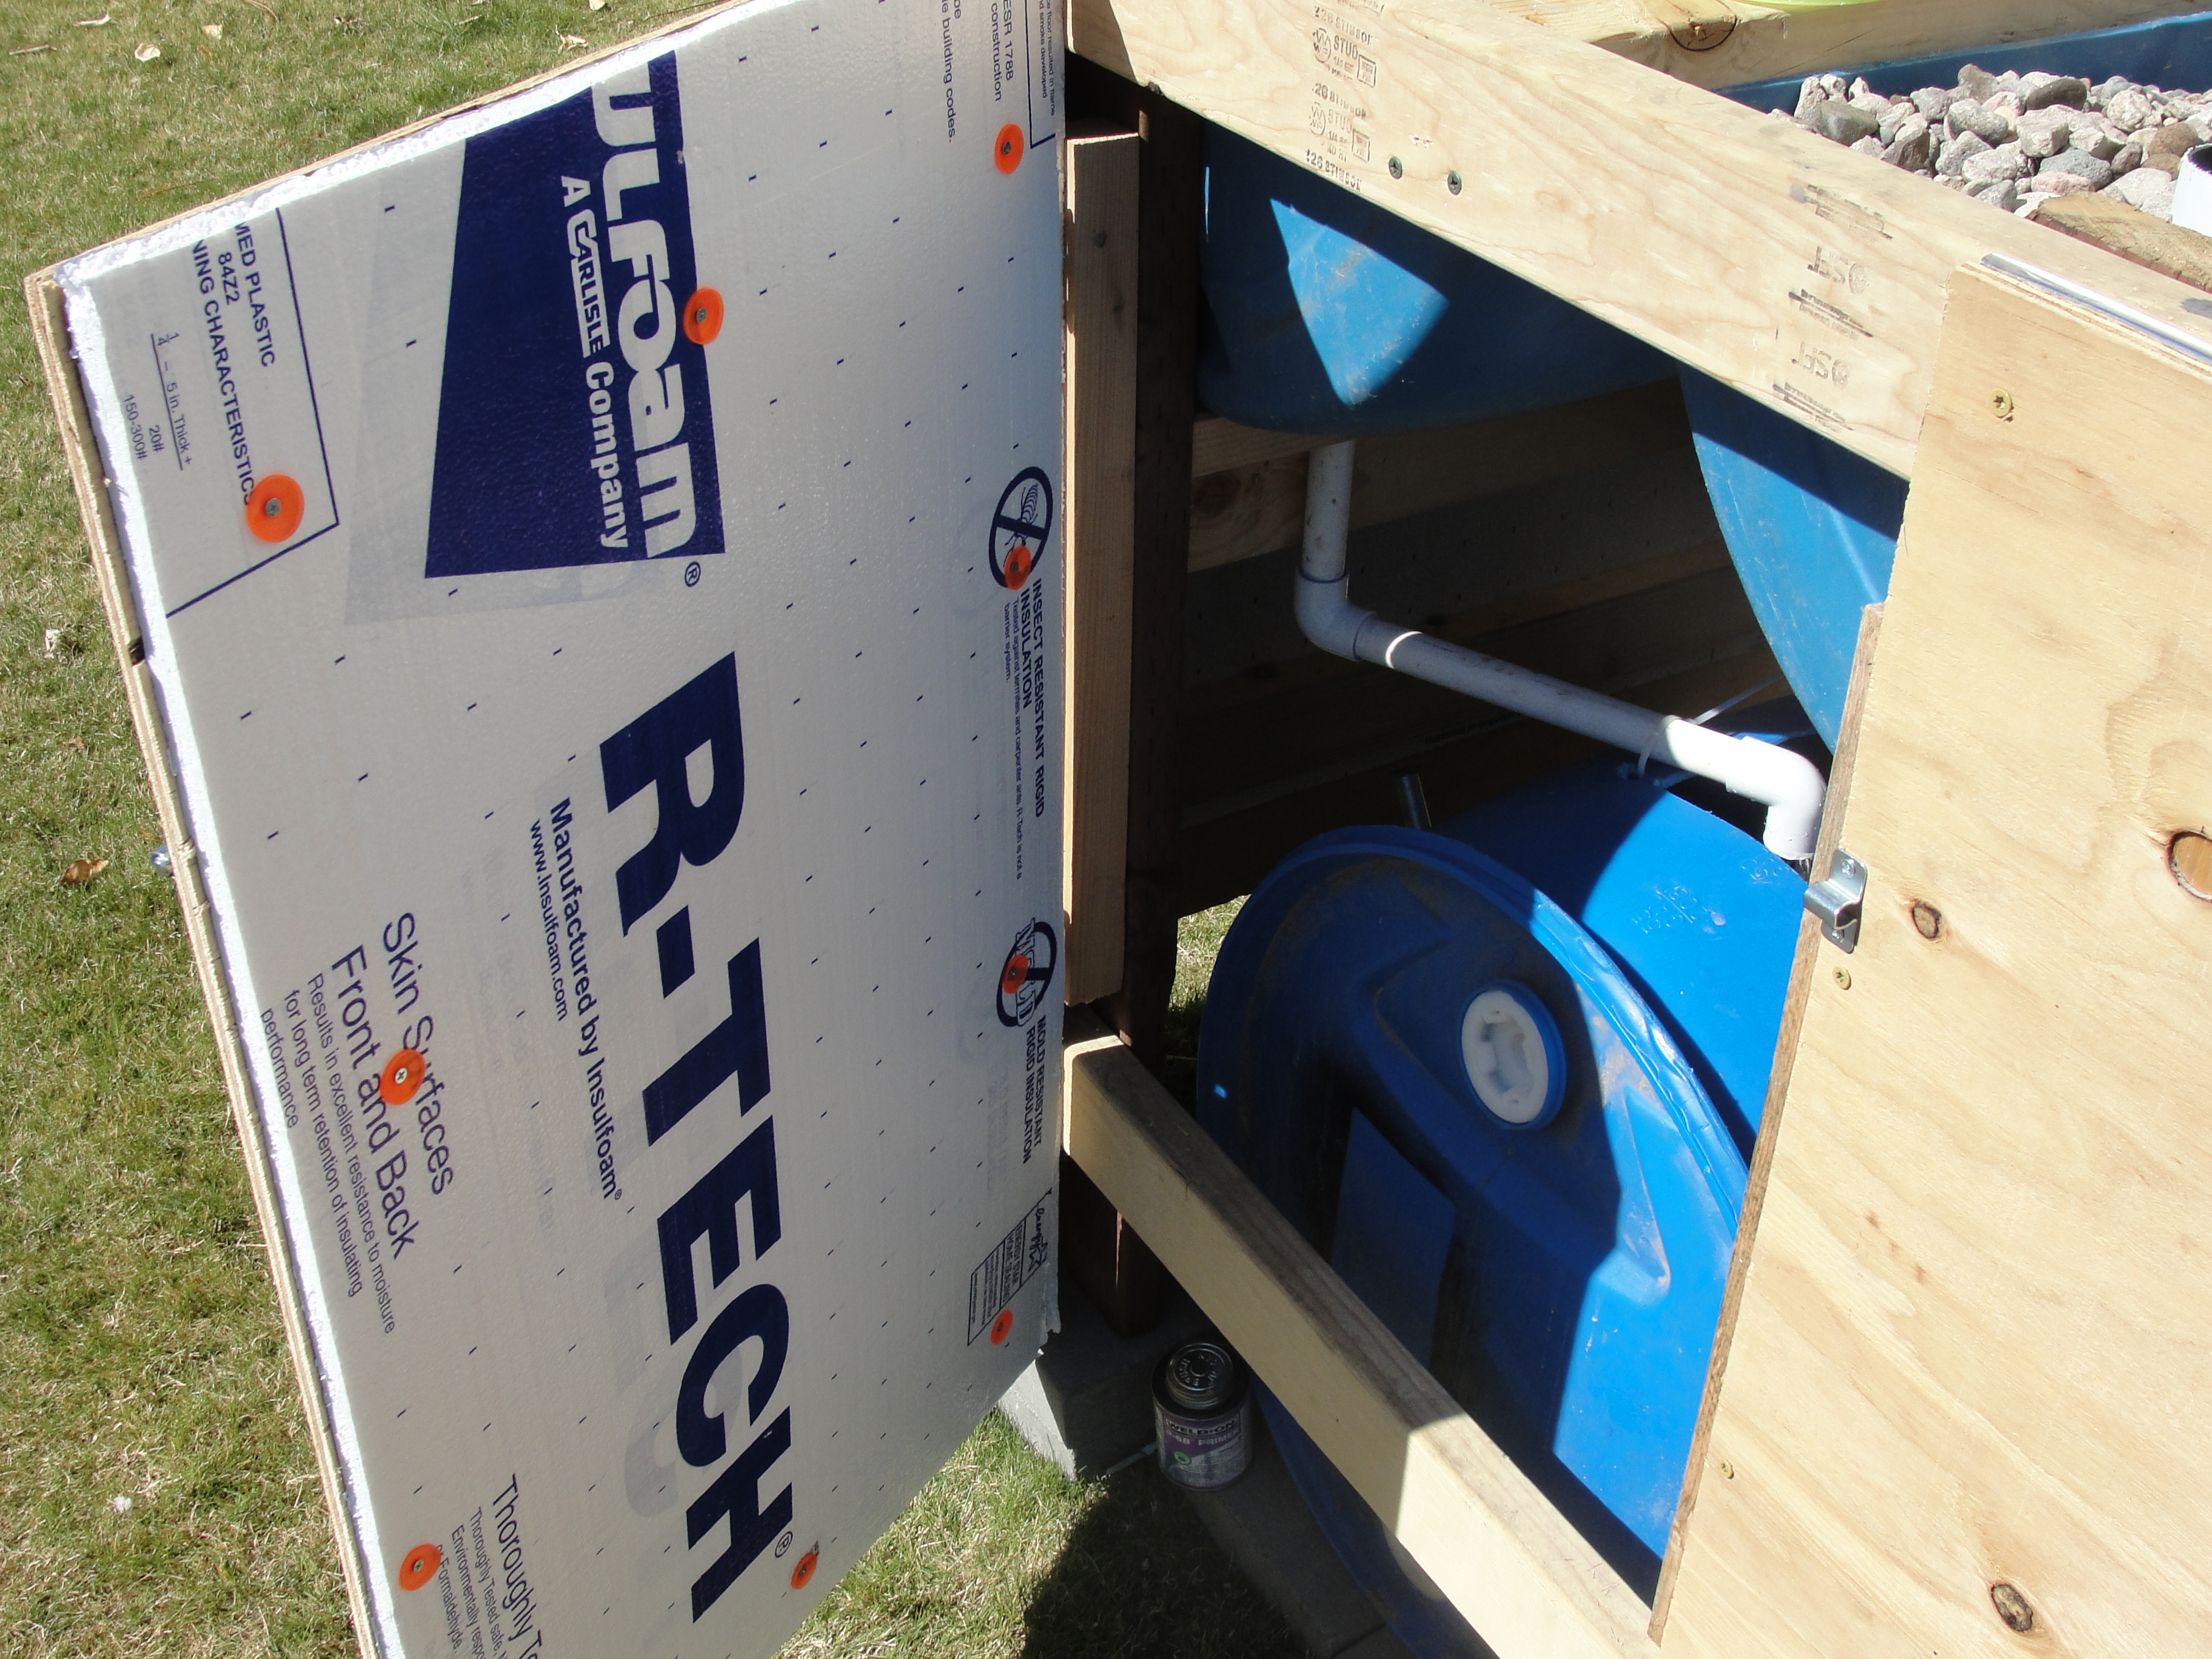
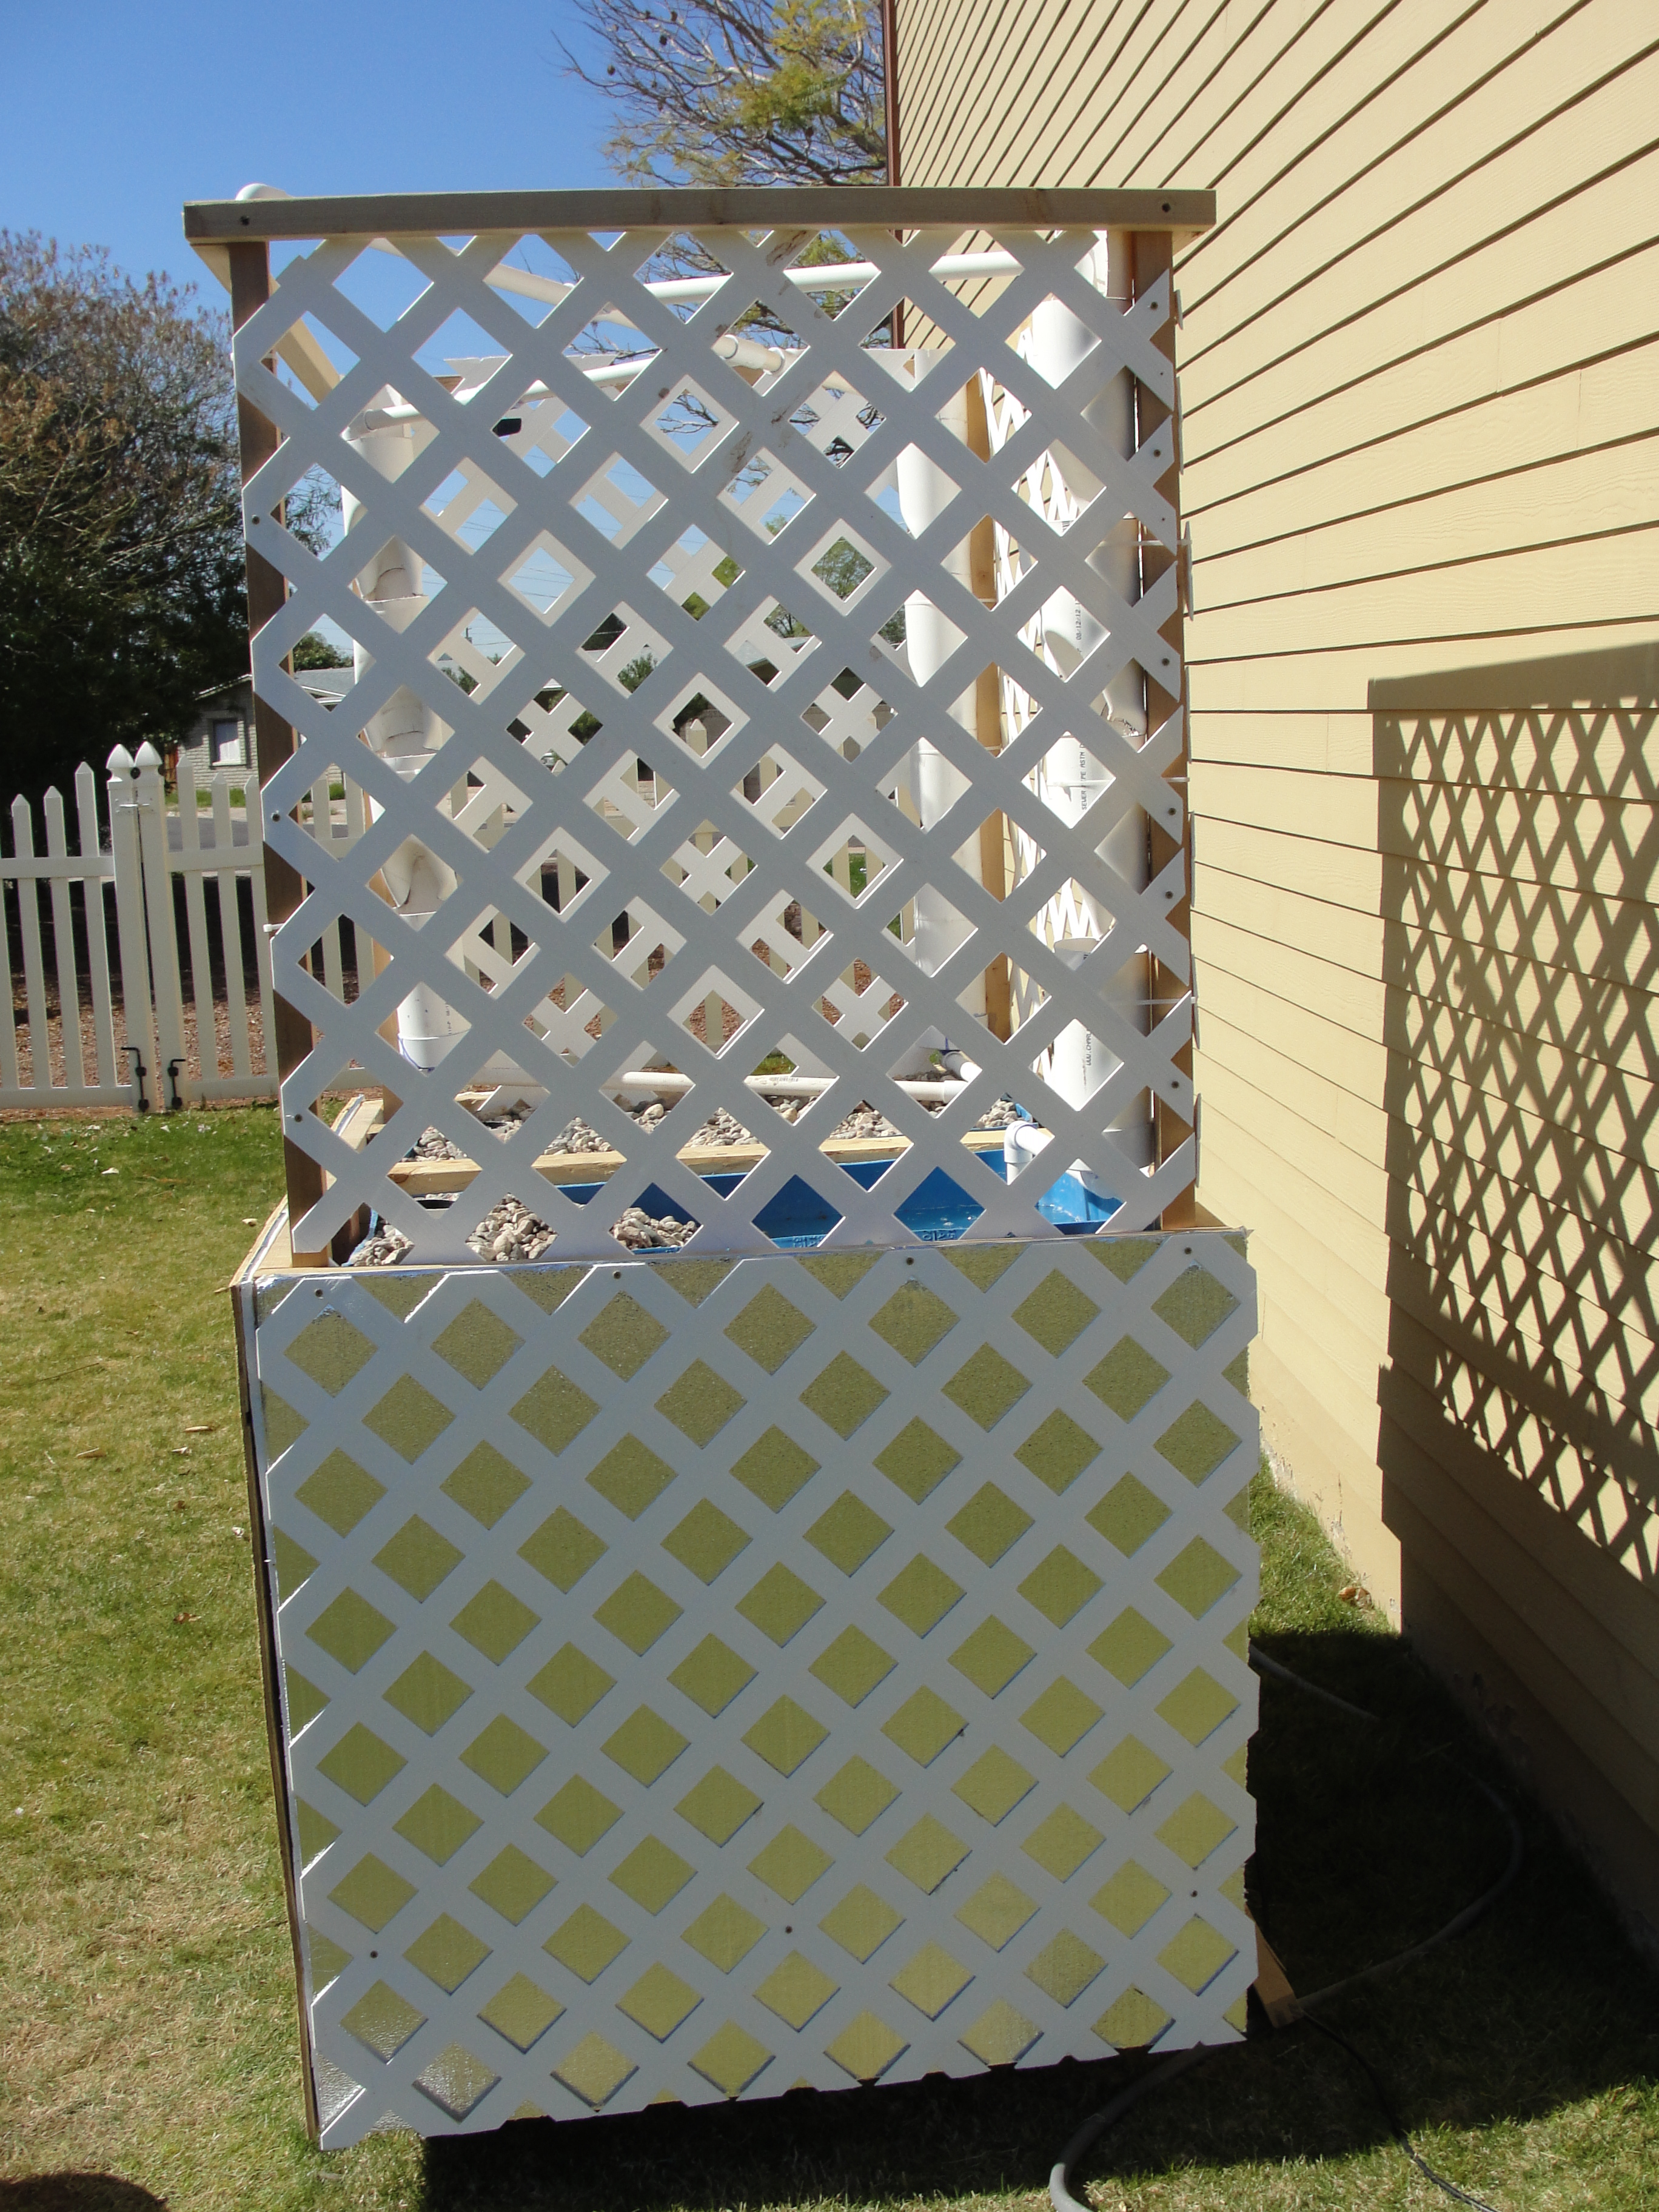
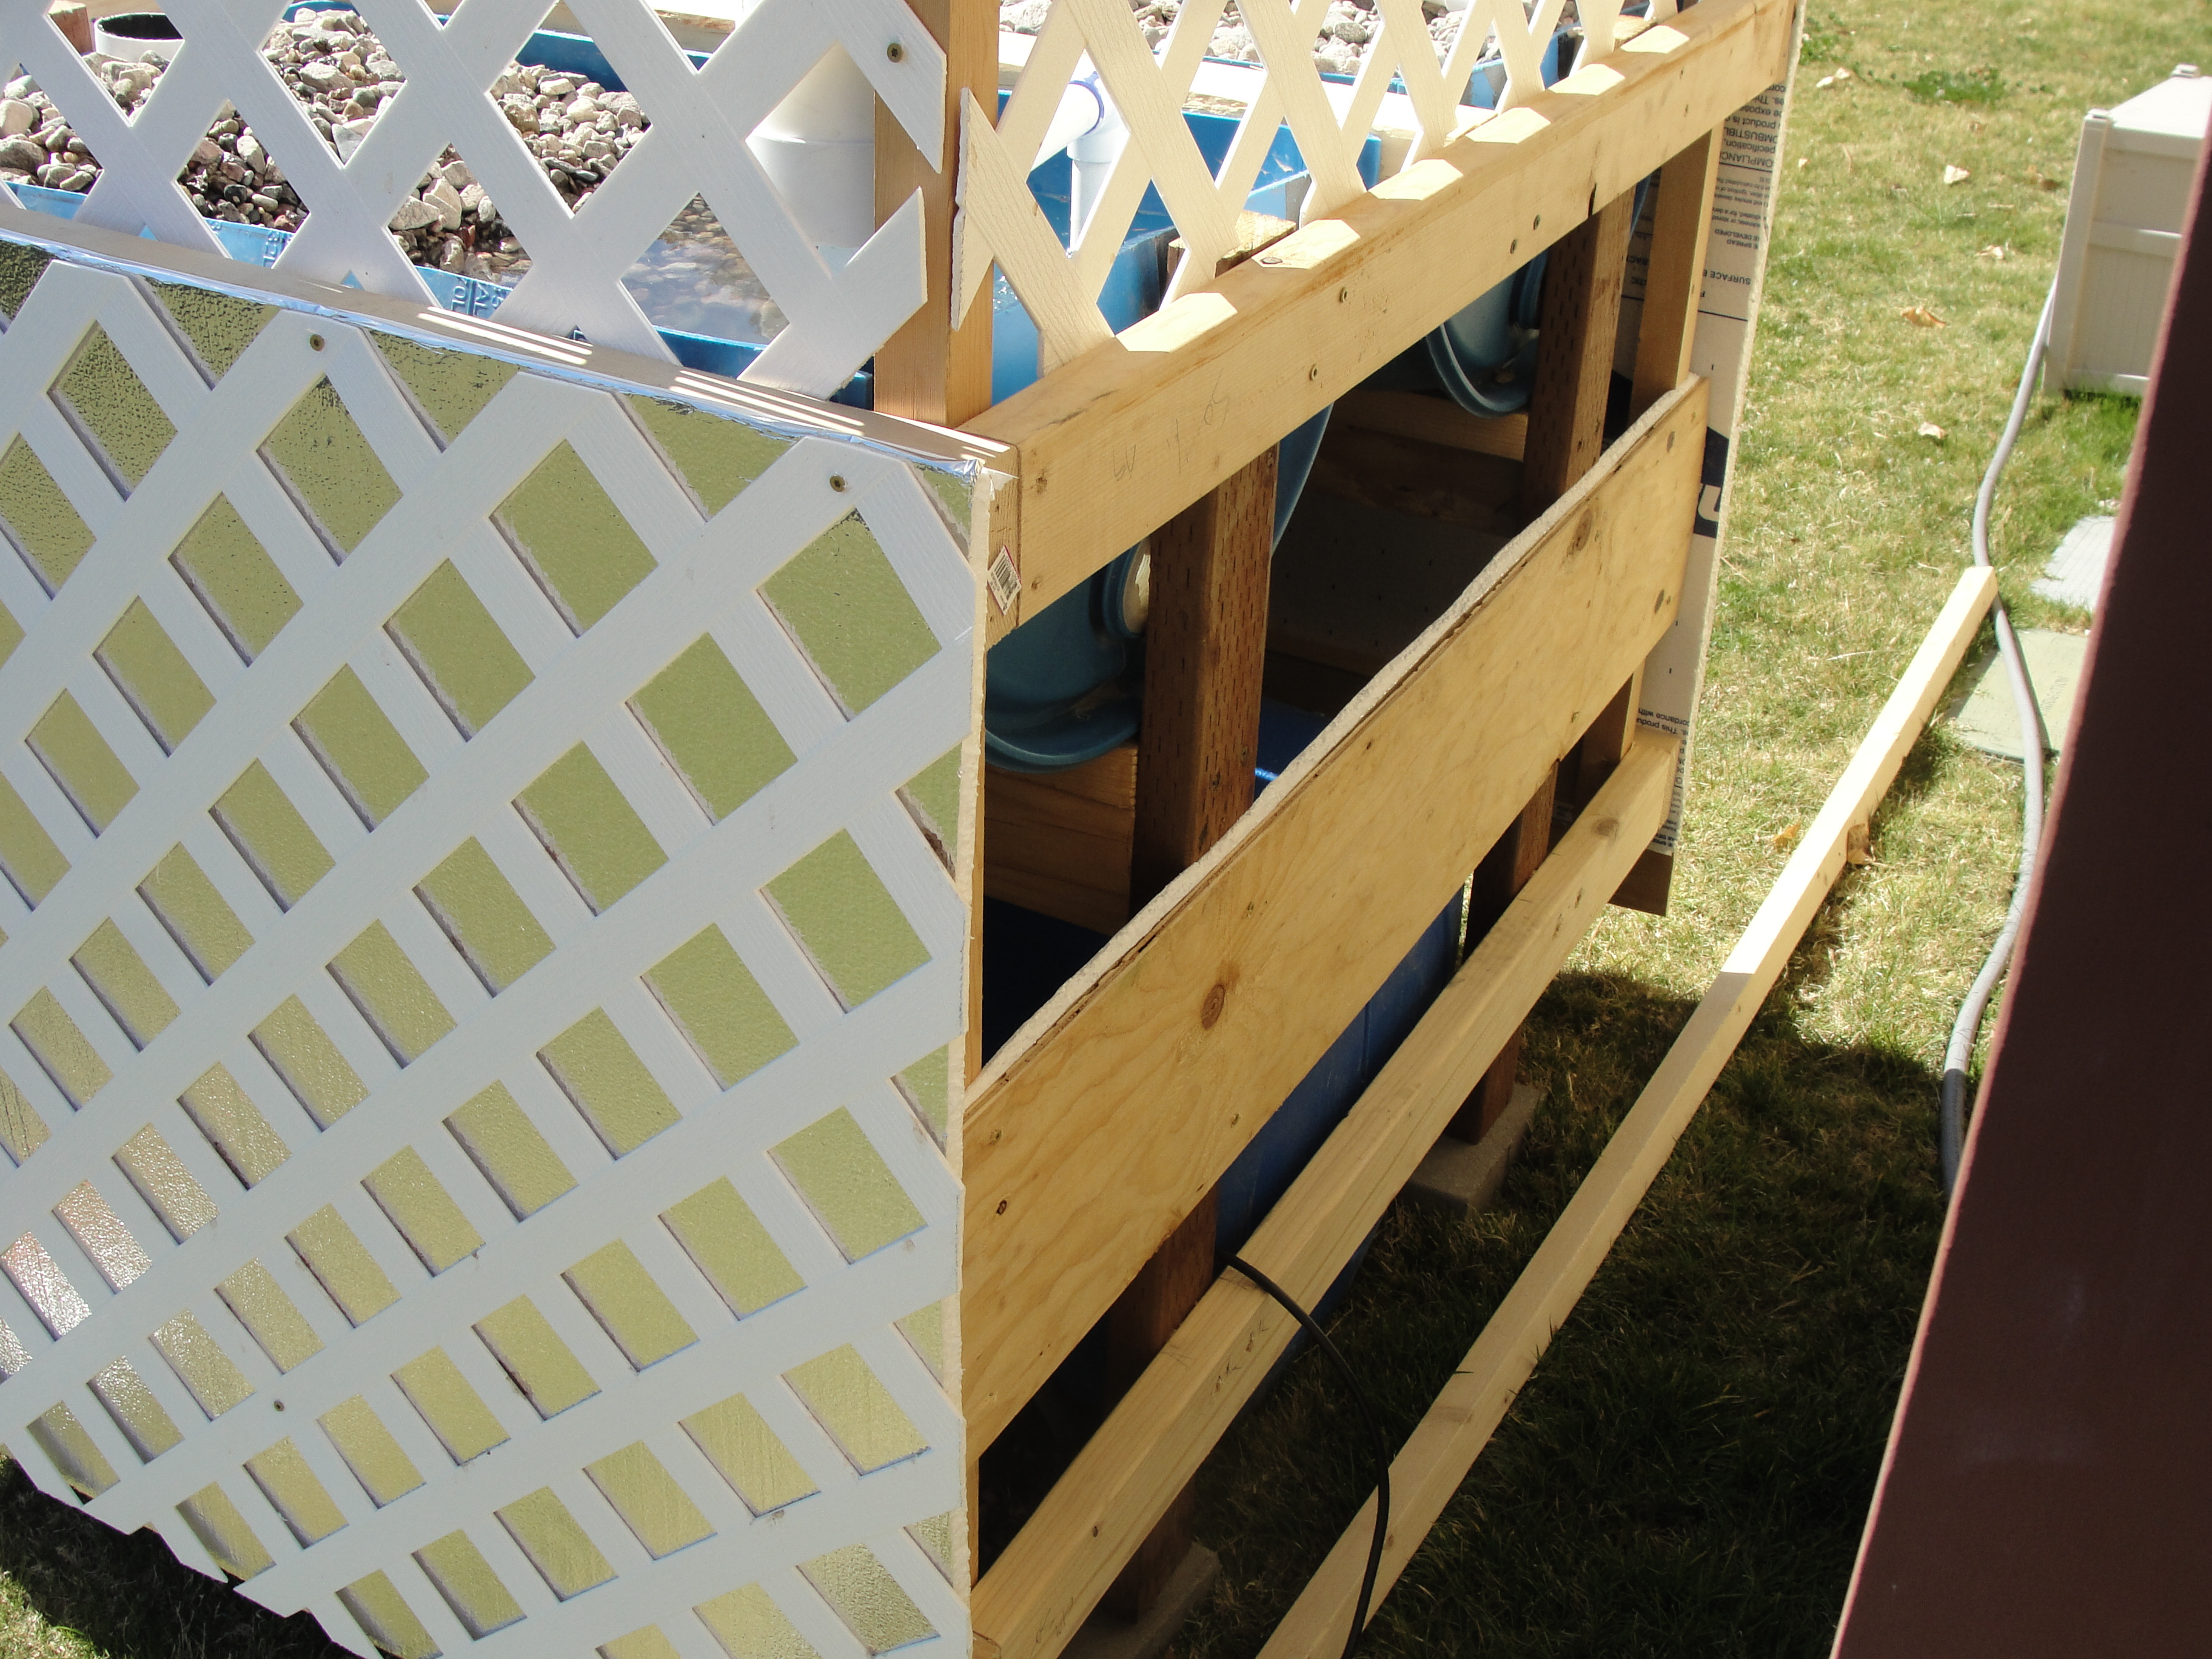
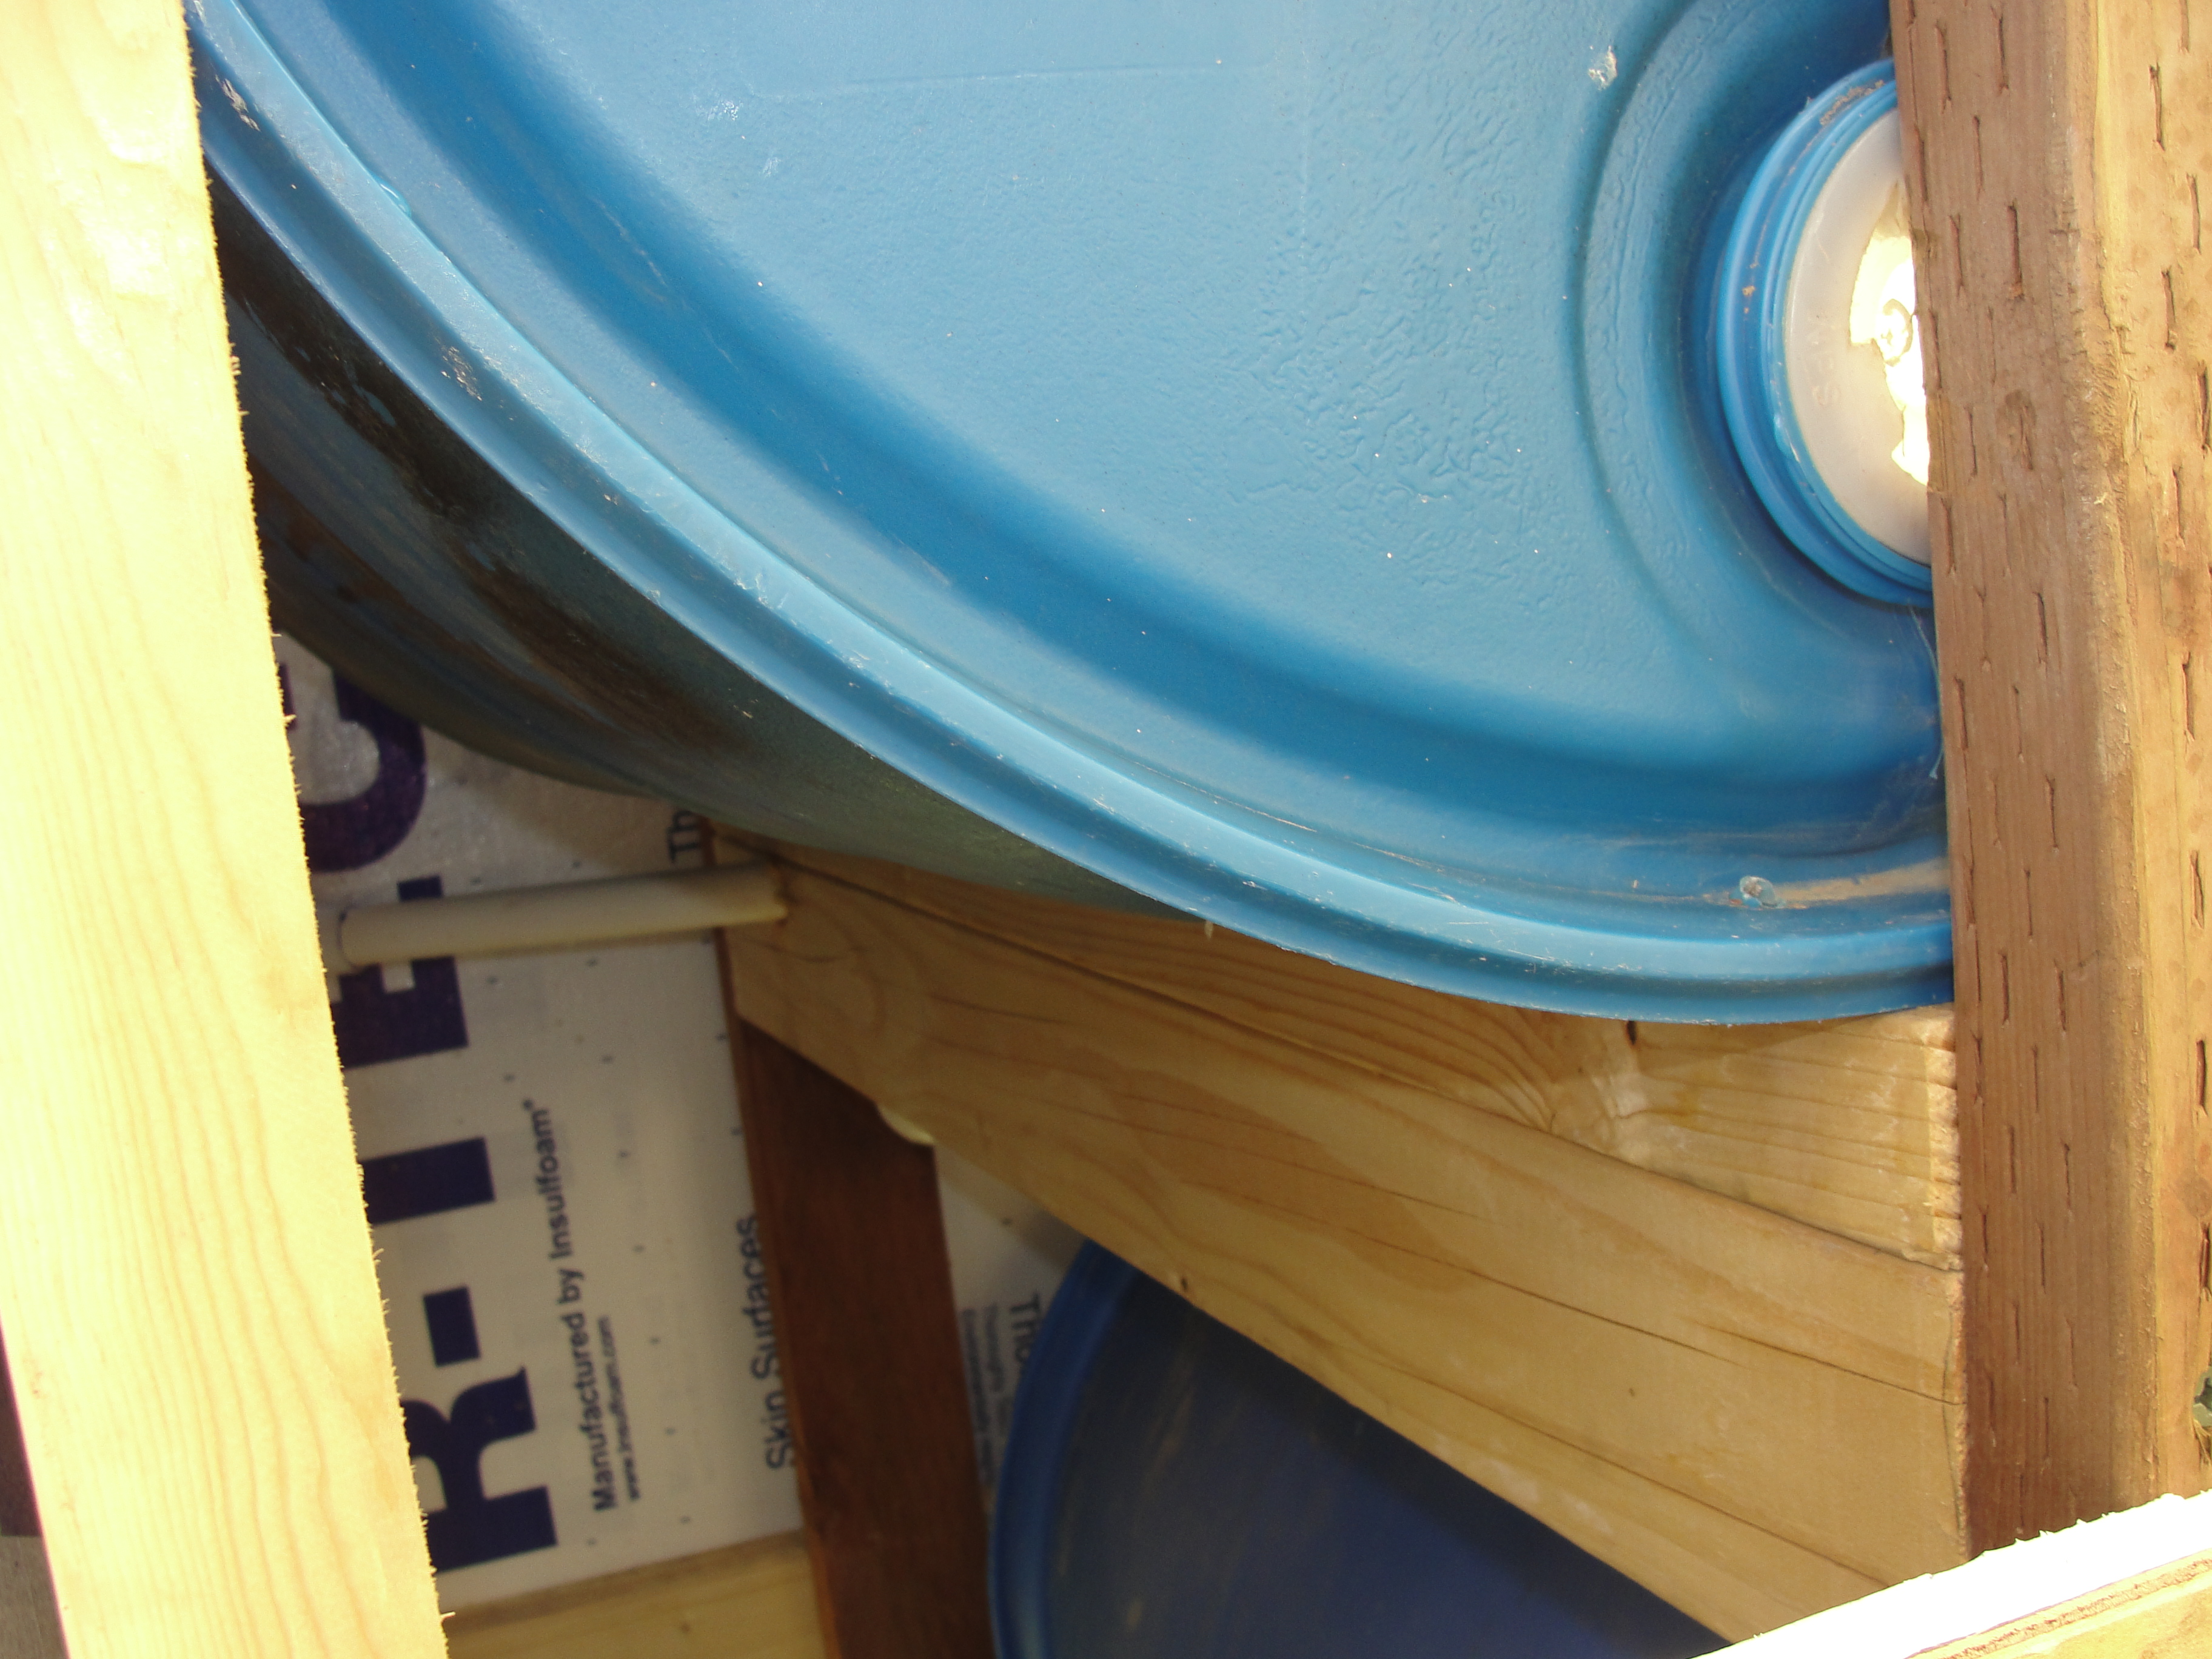
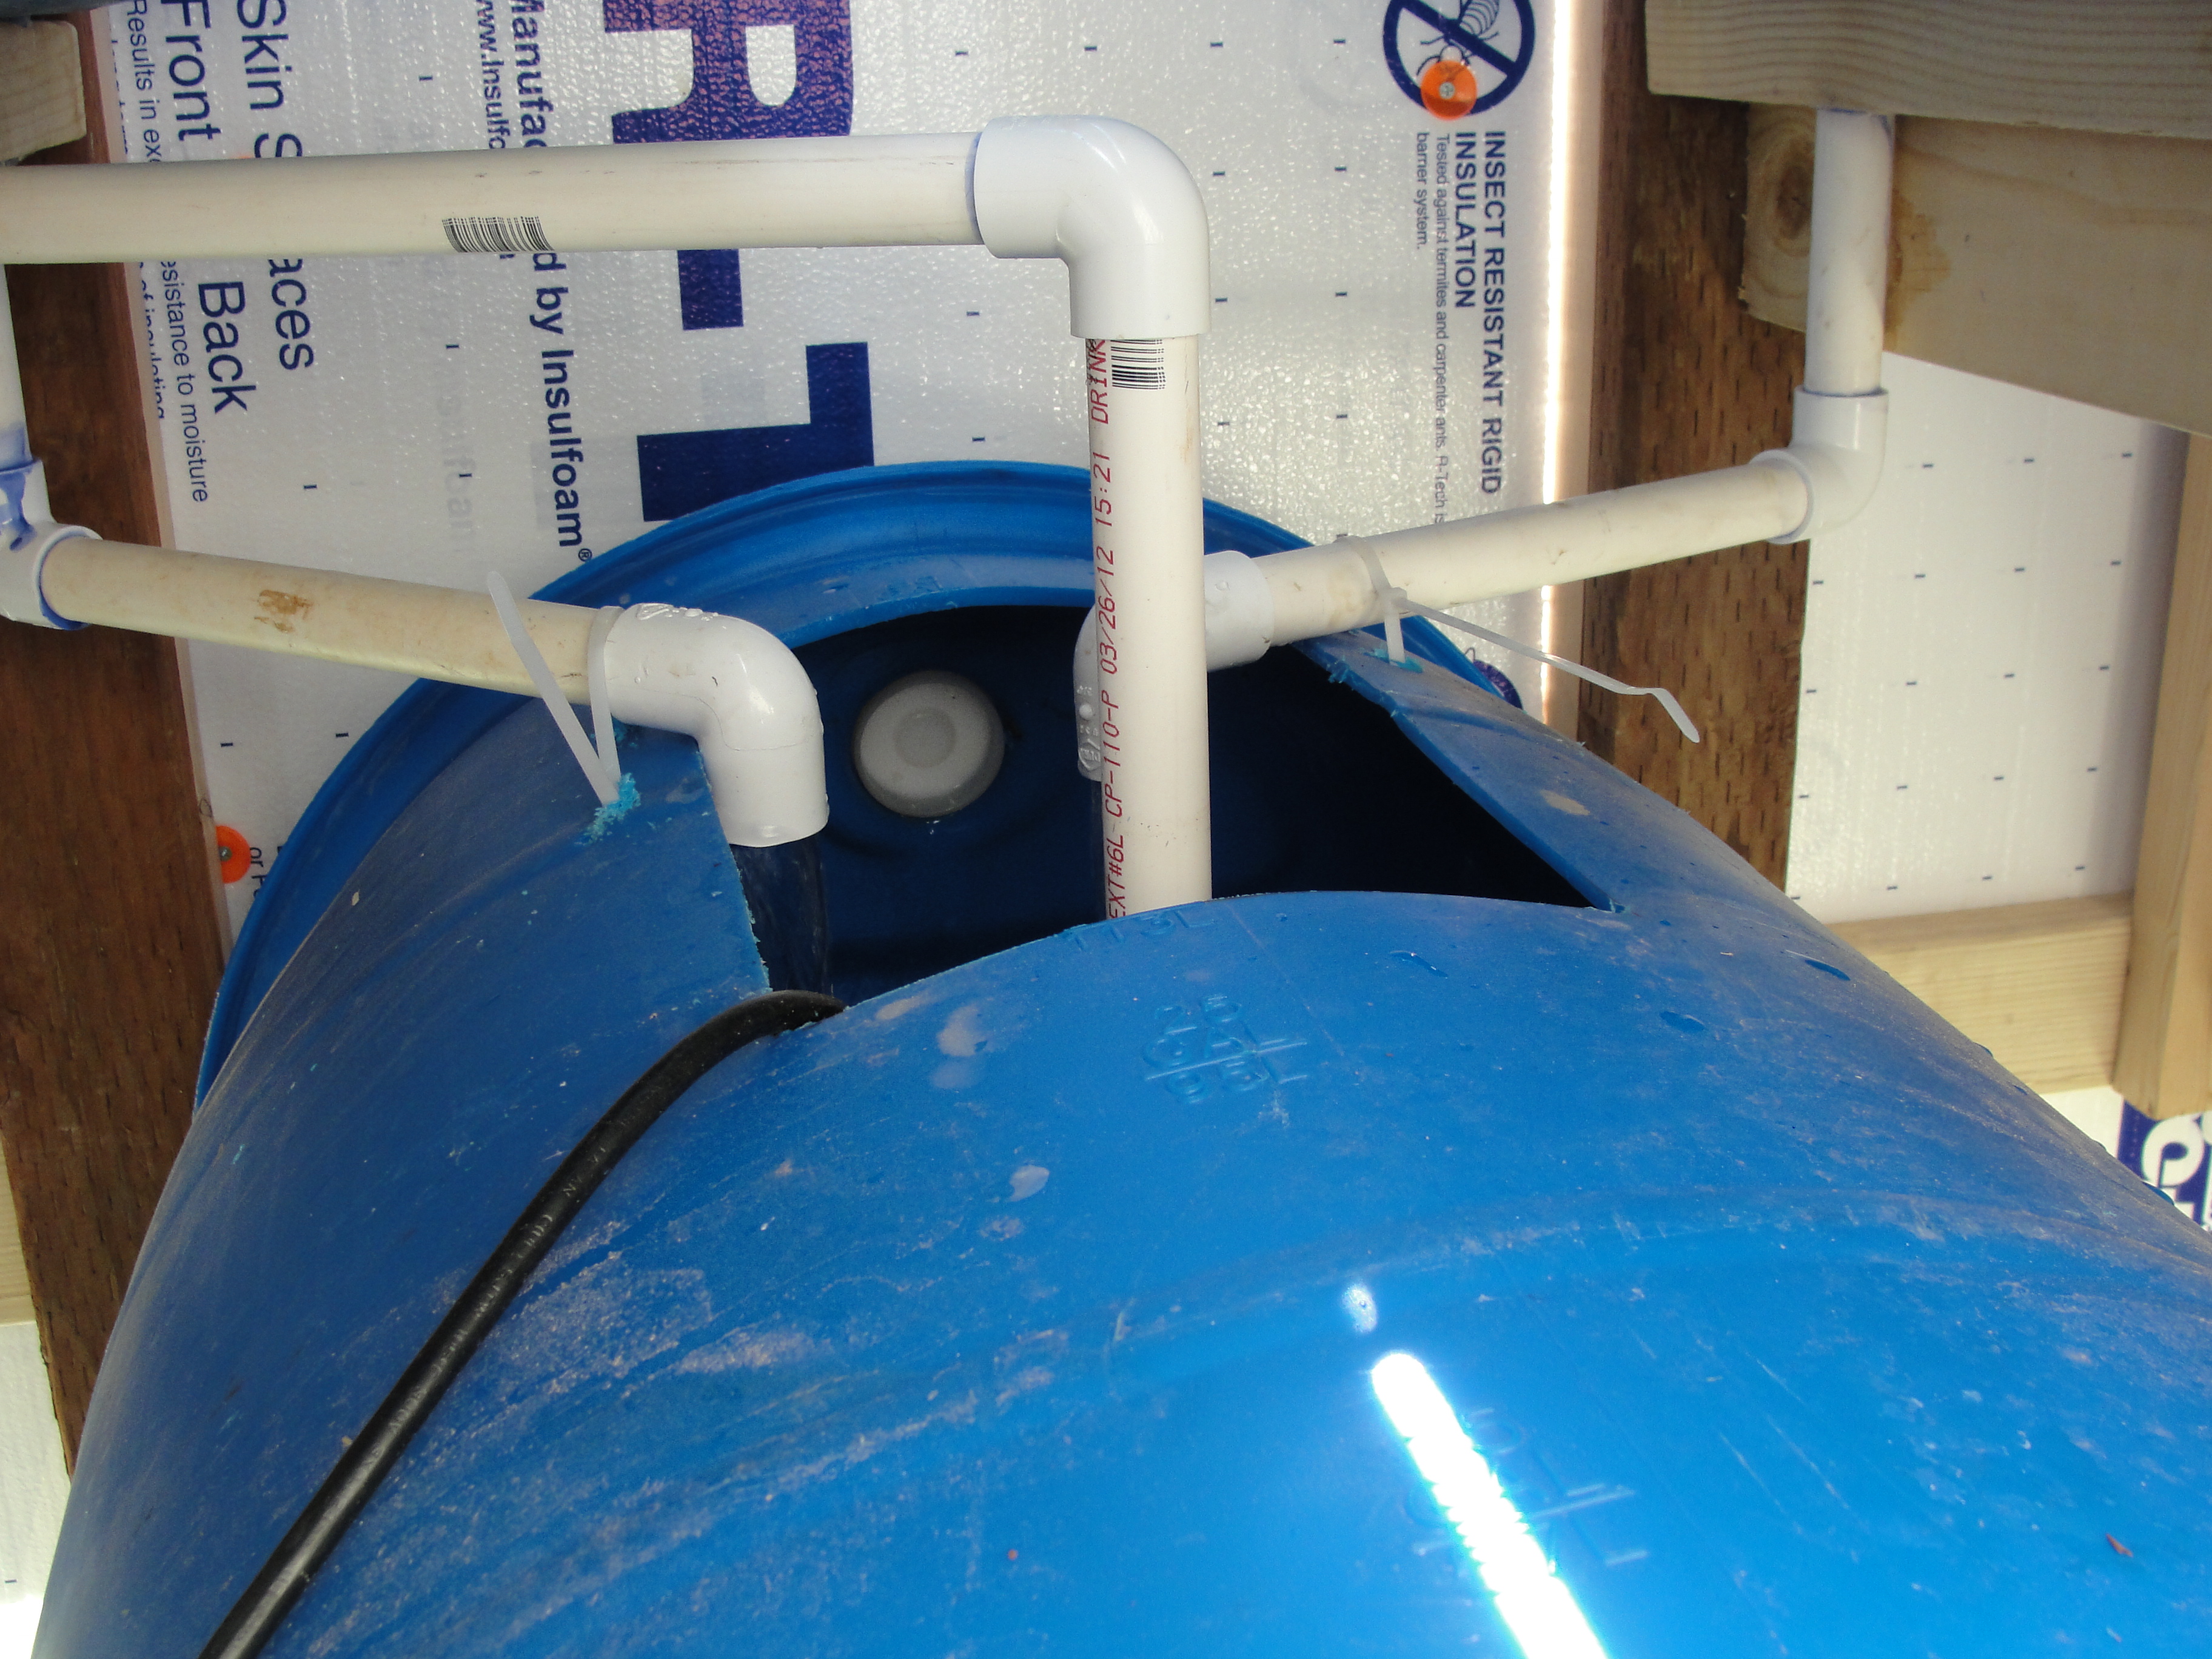
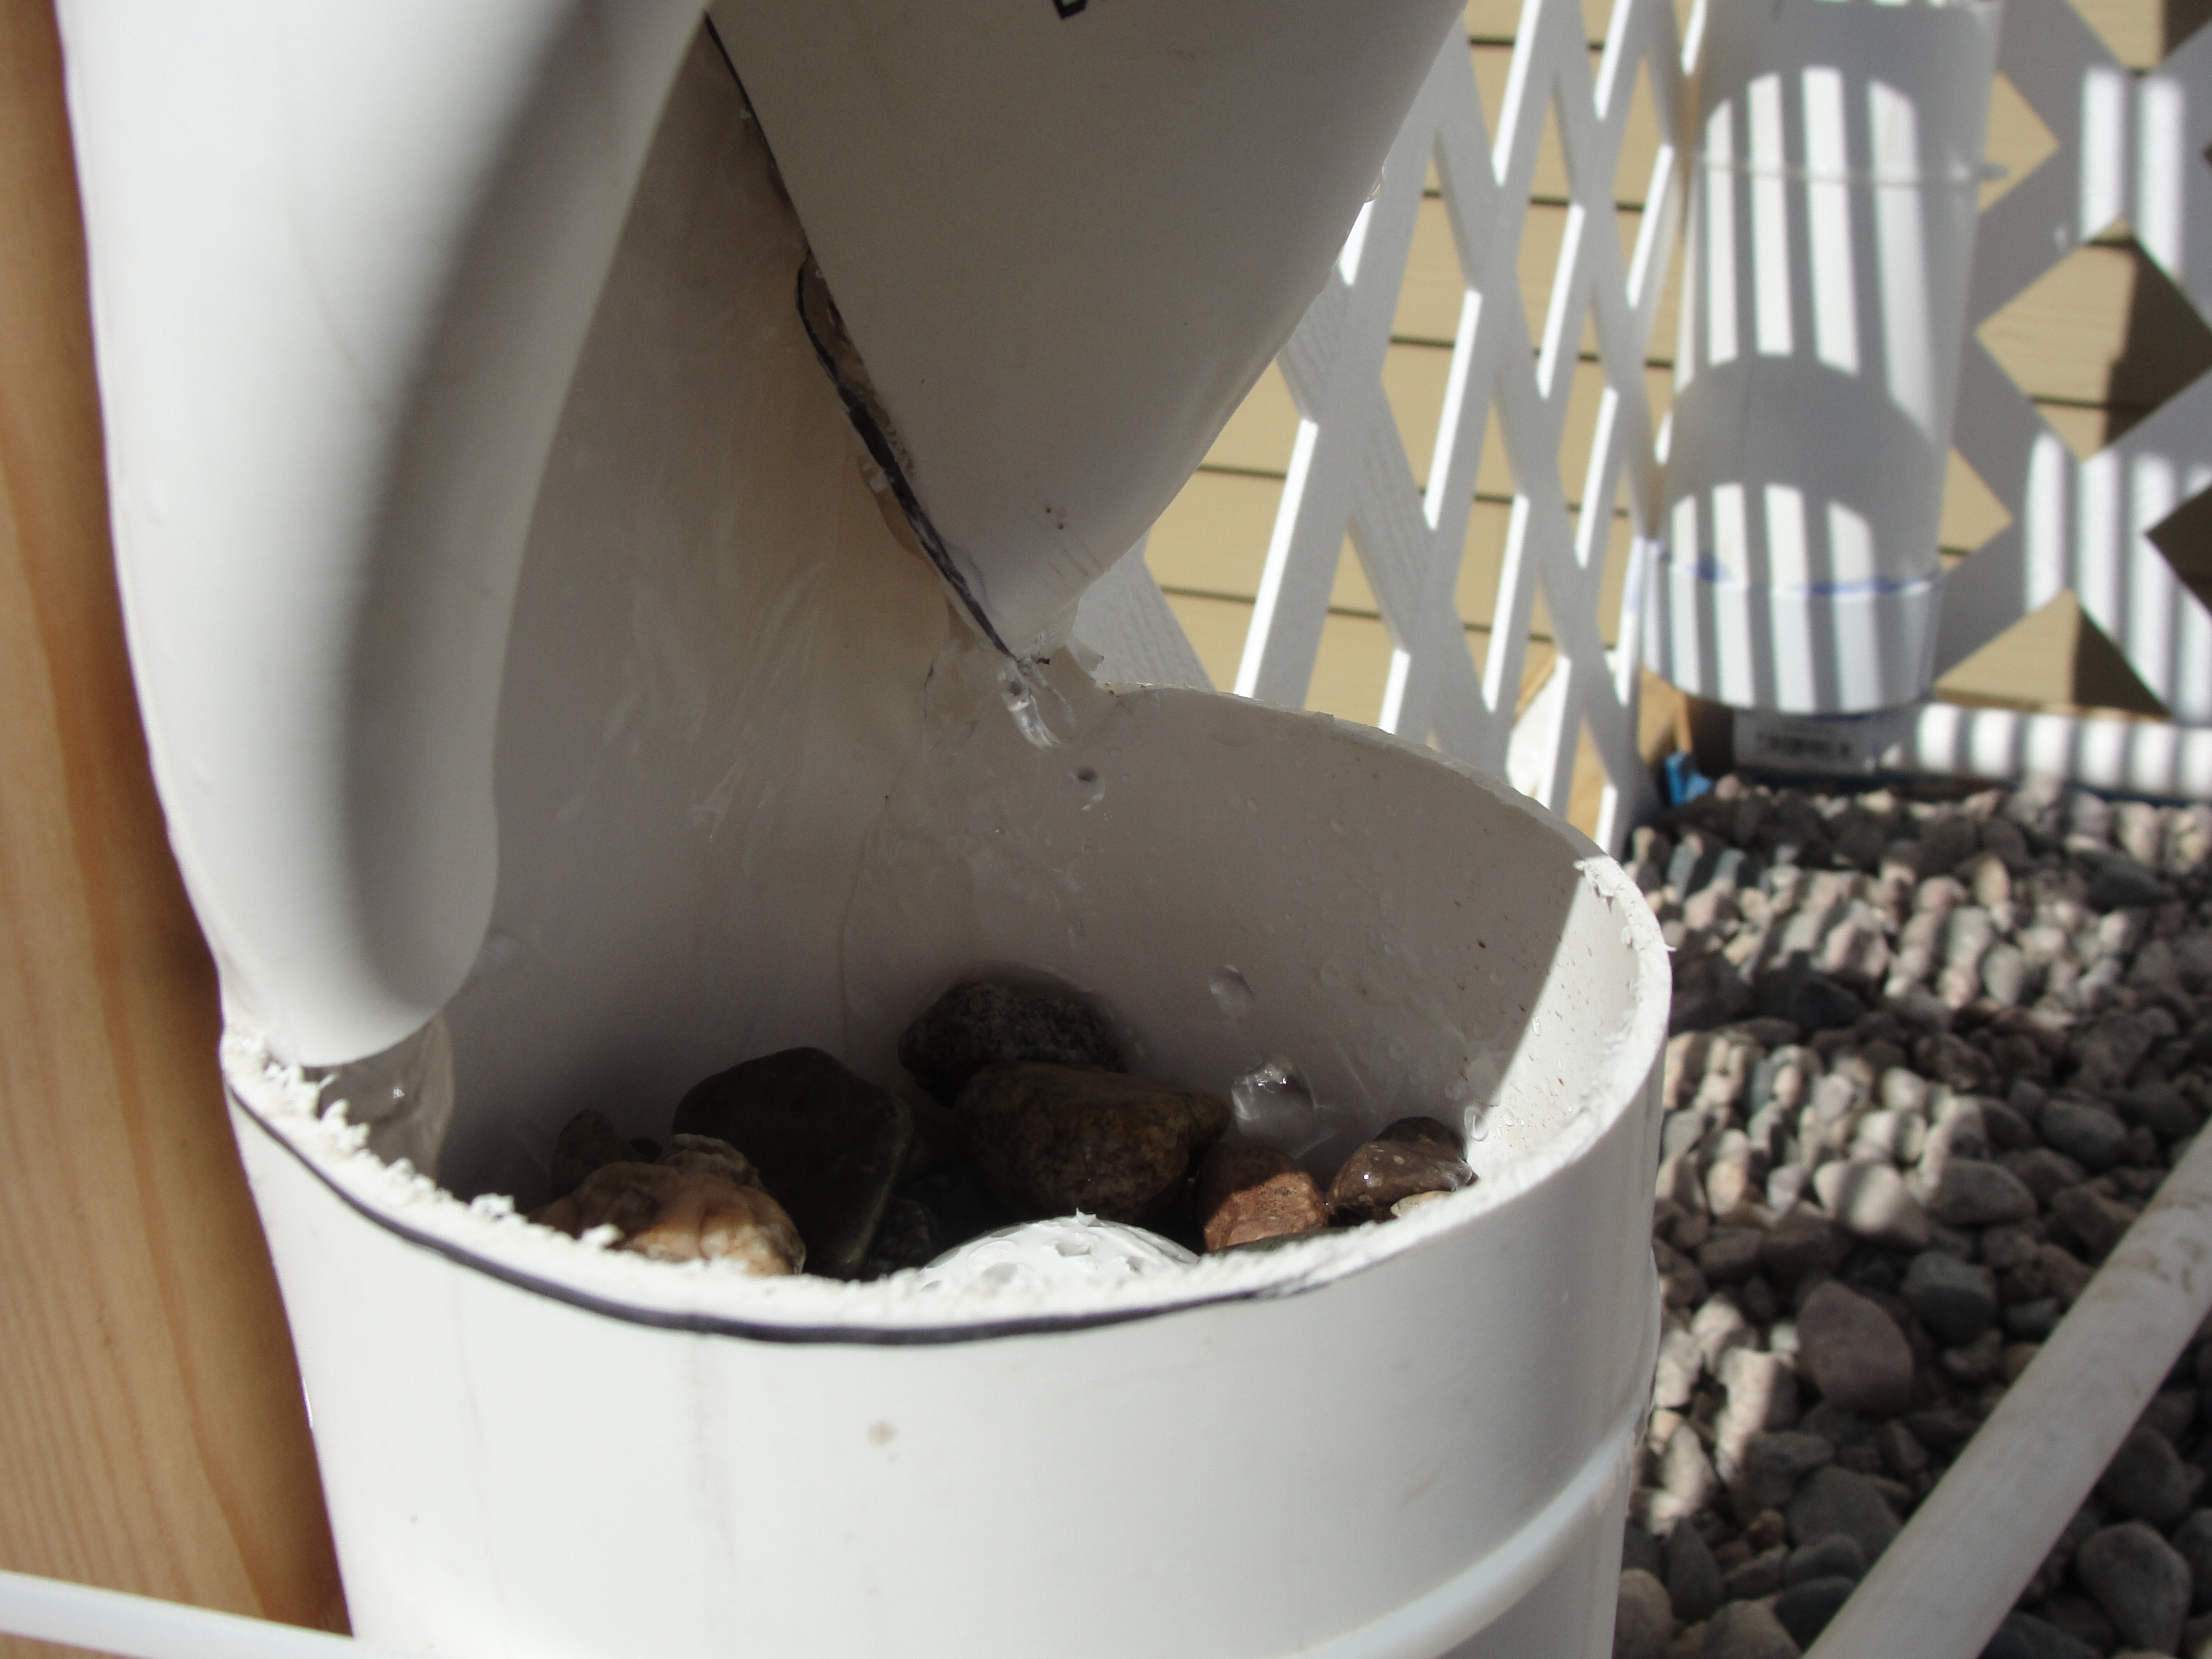
These are pictures of a modified version that is about $363 in parts before the backup pump (add about $80 if you get it on online or $150ish if you pick it up in a store).
Final Notes#
- A $125 IBC system as a base would almost add 2 to 3 times as much grow volume and the ability to have 30-50 tilapia, but only adds about $80 in cost)
- Tighten bungholes before you assemble everything else. Invest in a $15 bung tightener.
- Cut through bungholes instead of trying to use them and seal them
- Make sure everything is level
- Wet test everything before adding rocks
- Make sure and bend your PVC towers so they will drip inside. Take extra time here.
- Lowes gives a 10% military discount!
- Use bulkhead fittings instead of silicone and PVC male/female screw ons
- Wash your rocks thoroughly before adding to system
- Cut your drain pipes down to about 2″ and use a coupler on top of them so you can easily remove the top piece and cut/add pipe as needed to adjust your water level
- Make sure you have access to your towers if you wrap it in trellis